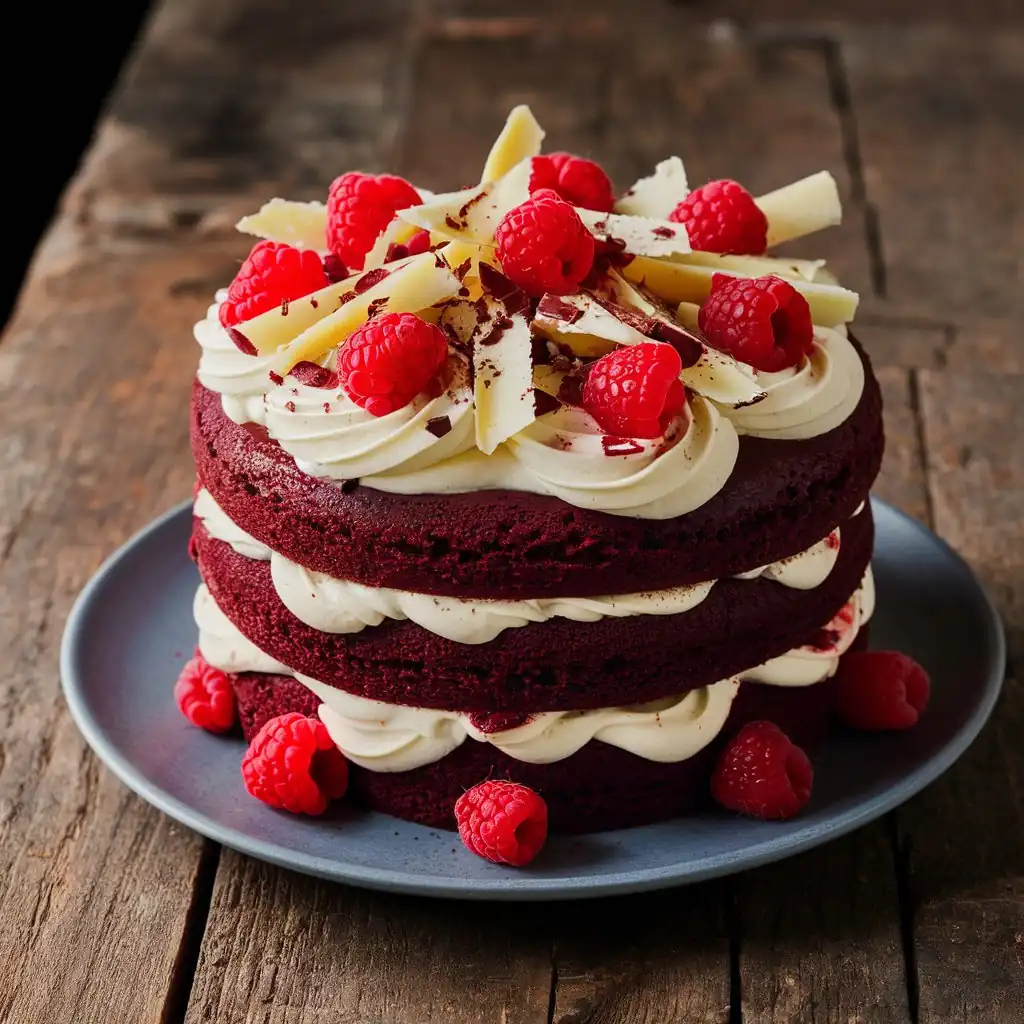
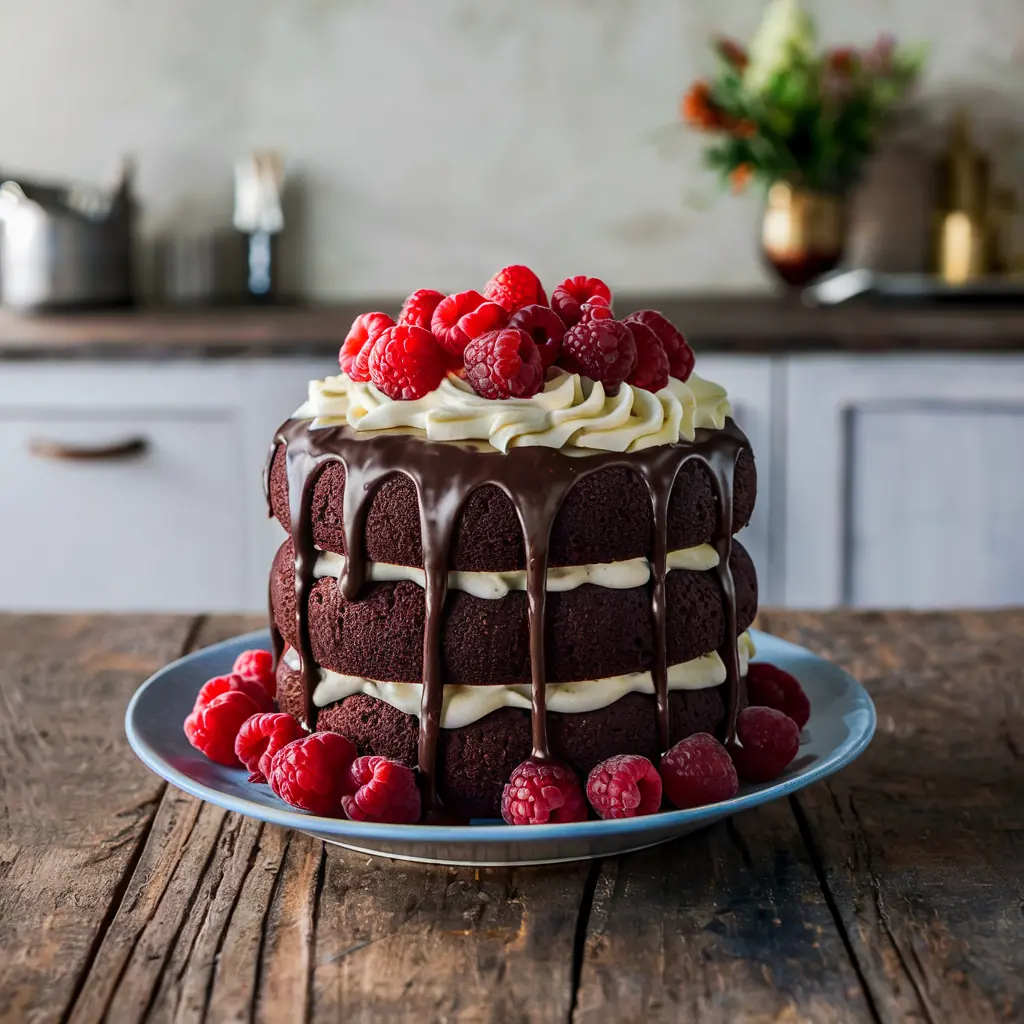
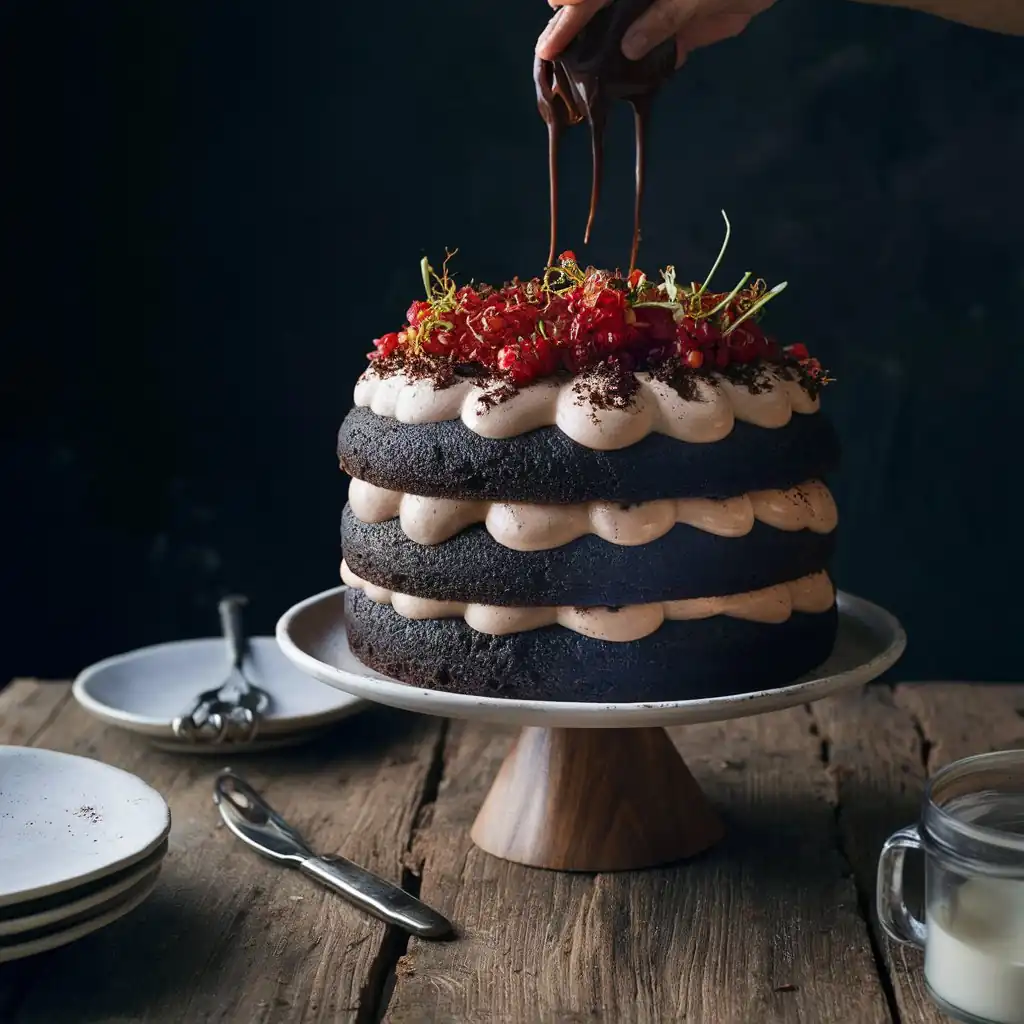
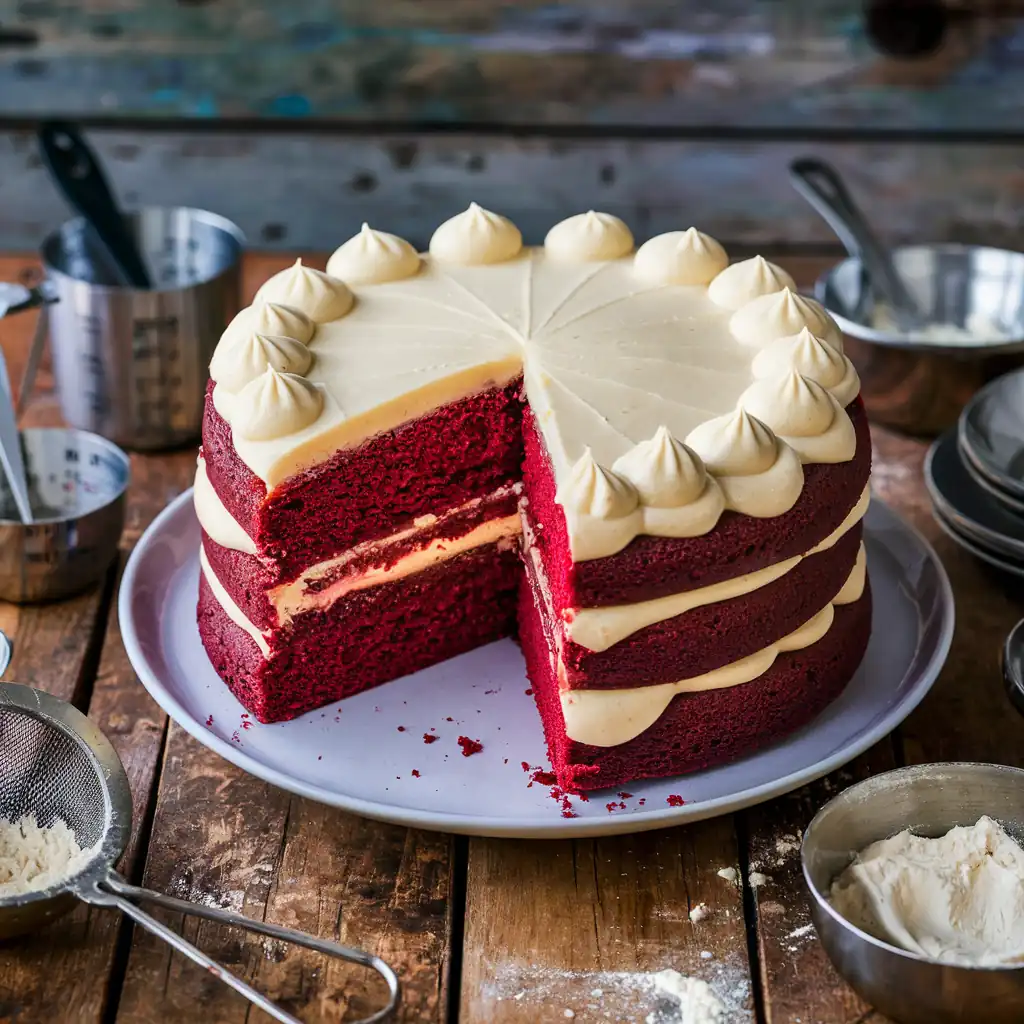
I’ve always found that Red Velvet Ice Cream Cake stands out among desserts, bringing together rich velvety layers and creamy ice cream in a way that’s surprisingly harmonious.
The contrast of textures and flavors offers a unique experience that’s hard to resist. As I experiment with different recipes, I realize there’s much more to this cake than meets the eye.
If you’re curious about what makes this dessert special and how to create it with your own twist, let’s explore the possibilities together.
why this recipe special
There’s something truly delightful about combining two beloved treats into one, and that’s exactly what makes this Red Velvet Ice Cream Cake special.
Imagine biting into a luscious slice where rich red velvet cake mingles perfectly with creamy ice cream! It’s like having a party in your mouth with each spoonful.
The soft texture of the ice cream with the moistness of the red velvet cake transforms dessert into something magical. Plus, when you fold those cake crumbs into the ice cream, it’s an irresistible combo!
You get the sweet, tangy flavor of cream cheese frosting alongside the coolness of ice cream, making it the ultimate dessert fit for any occasion.
Trust me, once you try this, you’ll never look back!
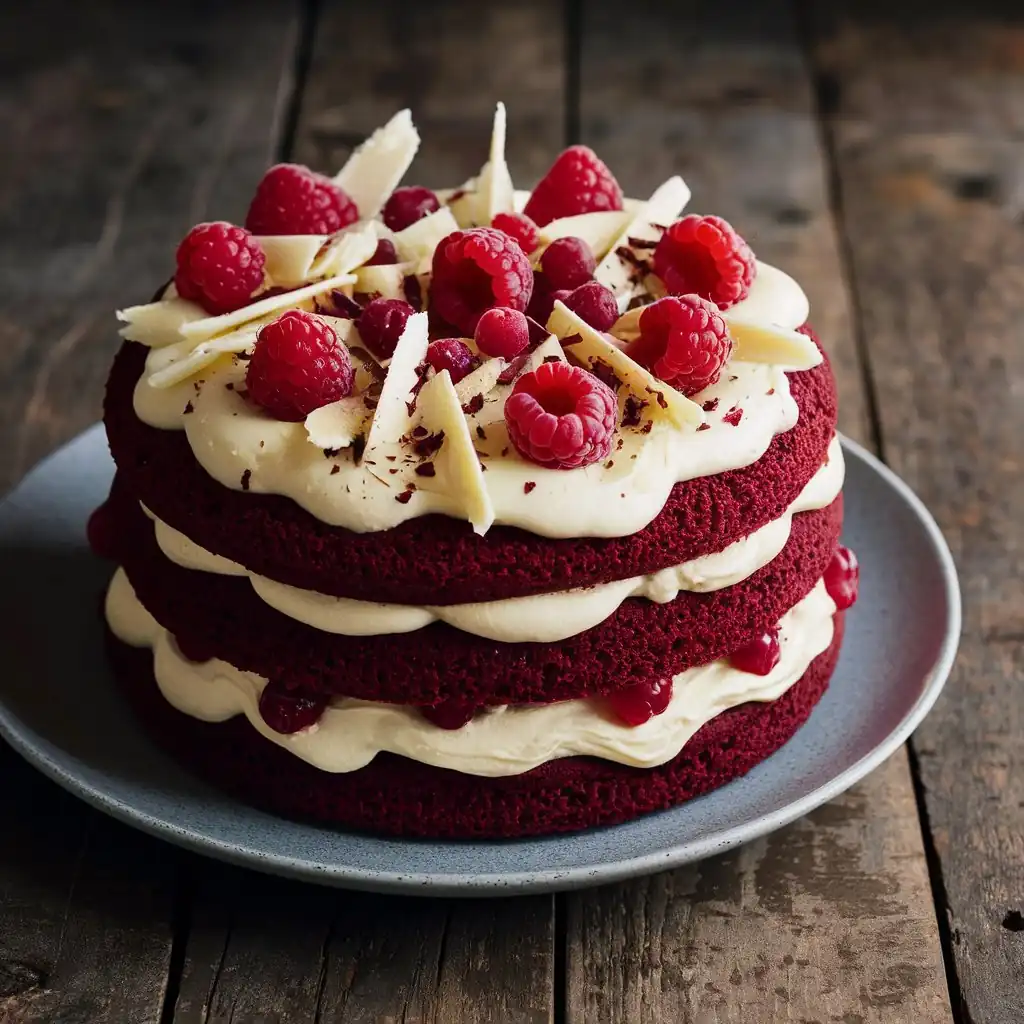
Ingredients
To create the perfect Red Velvet Ice Cream Cake, you’ll need a specific set of ingredients that blend together beautifully. First, gather the ingredients for the red velvet cake: an egg, oil, buttermilk, vinegar, vanilla, red food coloring, flour, sugar, cocoa, and baking soda.
Then, for the ice cream part of this delightful red velvet ice cream, you’ll need cream cheese, sugar, milk, vanilla extract, and Cool Whip (or homemade whipped cream).
Don’t forget the cake crumbs from the tops of your baked cakes and a can of cream cheese frosting to give that extra touch.
Equipment
When baking a Red Velvet Ice Cream Cake, having the right equipment makes all the difference in achieving that perfect final product.
You’ll want an 8-inch springform pan, which makes it so easy to remove your cake after it’s frozen. If you don’t have one, don’t worry! Just line a regular pan with plastic wrap, and you can lift it out later.
A large mixing bowl for combining your wet and dry ingredients is essential, too.
Don’t forget a long serrated knife for slicing off those domes of cake!
Finally, you’ll need a whisk and a mixer for whipping up your creamy frosting.
With the right tools, you’re all set for a delicious adventure in baking!
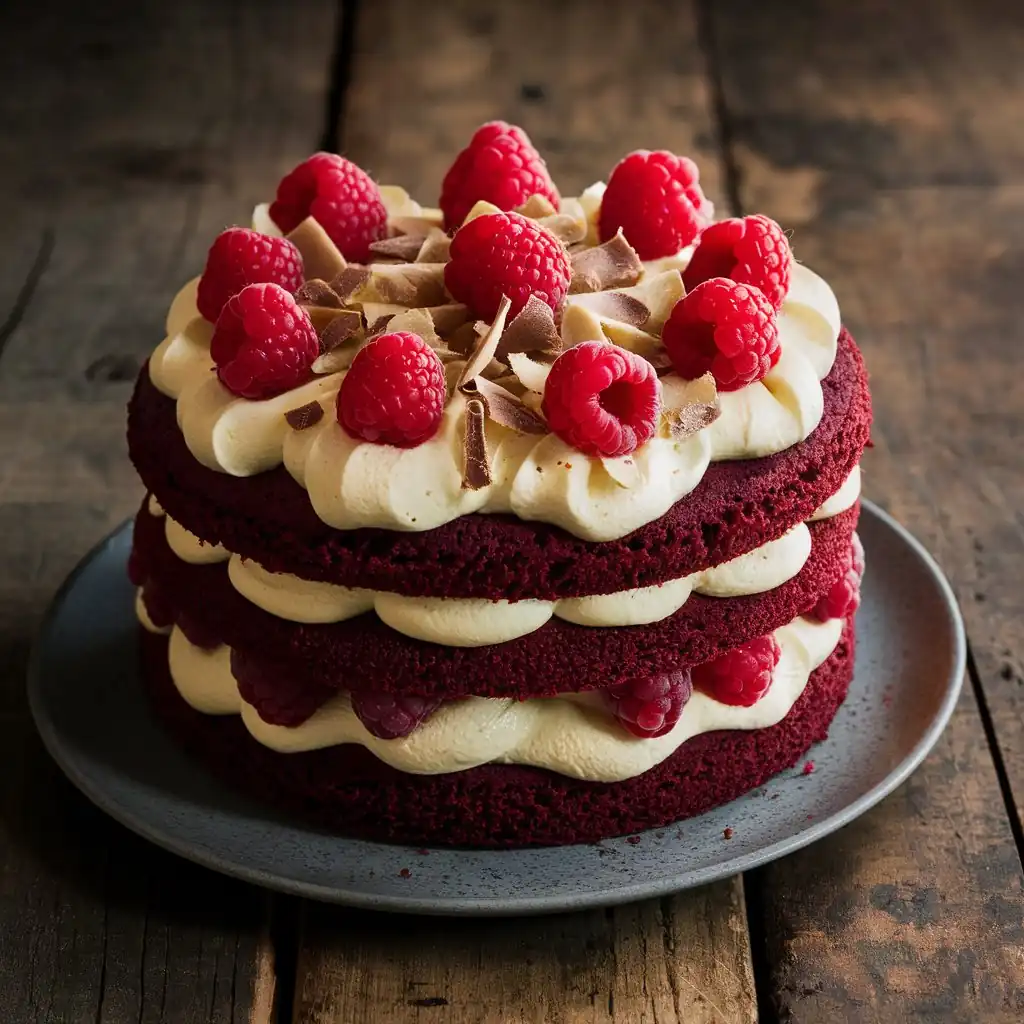
Step-by-Step Instructions
Starting the process of making a Red Velvet Ice Cream Cake is as easy as gathering your ingredients and tools.
First, I whisk together the wet ingredients—egg, oil, buttermilk, vinegar, and vanilla—until they blend beautifully.
In another bowl, I mix the dry ingredients, including flour and sugar, before combining them with the wet mixture.
I pour that vibrant red batter into two 8-inch pans and bake until a toothpick comes out clean.
Once the cakes cool, I make the ice cream by whisking cream cheese, sugar, and vanilla, then folding in Cool Whip.
After crumbling the cake tops into the mix, it’s all about layering!
With patience, I assemble the cake and let it freeze until it’s ready to enjoy.
Plating and Presentation
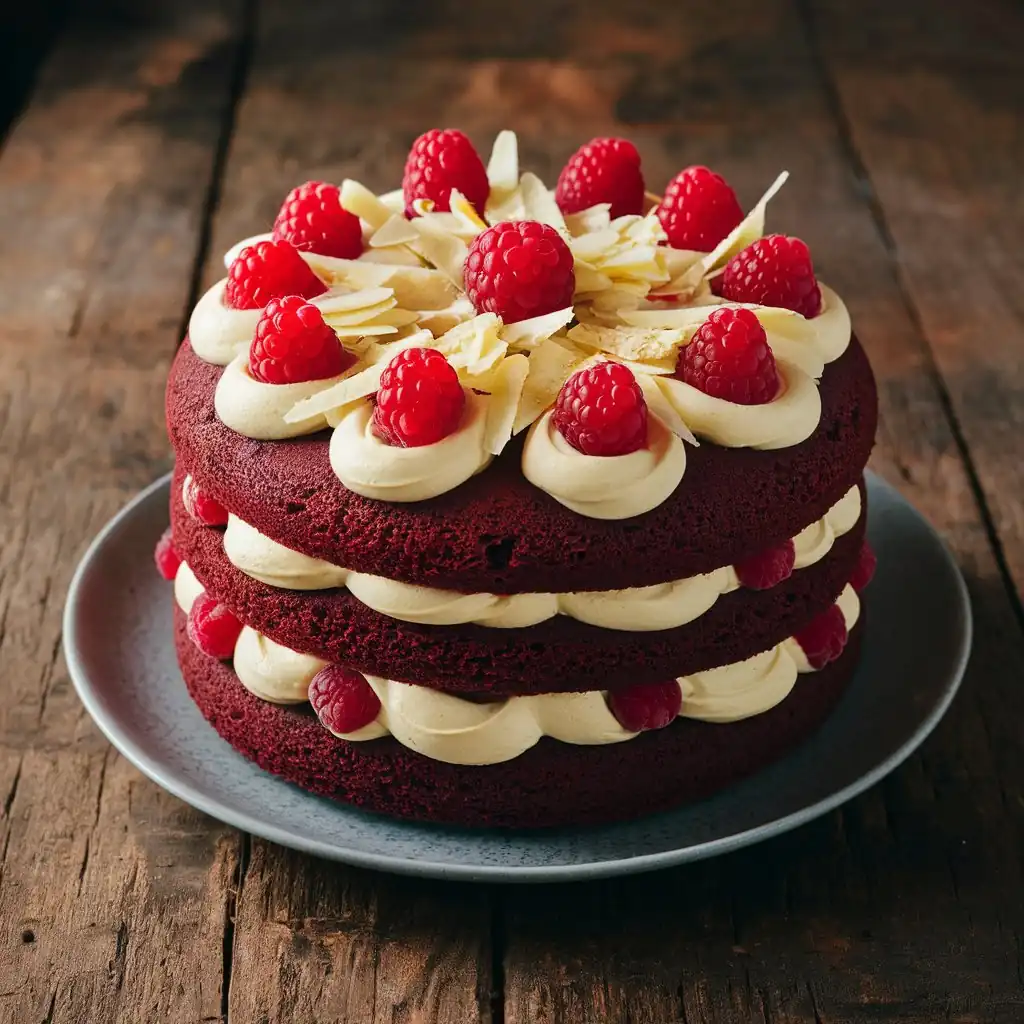
With the Red Velvet Ice Cream Cake fully assembled and frozen, it’s time to make it visually stunning for serving.
I love to start with a clean, bright plate, which really makes the cake pop. Once you’ve removed the cake from the springform pan, place it in the center and spread the whipped topping smoothly across the top.
How about sprinkling fresh blueberries around the edge? They add a burst of color and a sweet-tart surprise! If I’ve leftover cake crumbs, I’ll sprinkle those on the top, too, for a delightful crunch.
Chef’s Tips and Tricks
To achieve that picture-perfect Red Velvet Ice Cream Cake, I recommend preparing your ingredients and tools ahead of time. It keeps everything organized and makes the process feel smoother.
When baking, always check the doneness by inserting a toothpick; just a few crumbs should cling to it. Don’t skip letting your cakes cool before assembly, as this helps keep the layers intact.
If you want nice, clean cuts when serving, run your knife under hot water, then dry it before making each slice. Remember, chilling the bowl for whipping cream can really make a difference!
All these little tricks have been game-changers for me, and I hope they help you create a cake that’ll leave everyone smiling. Enjoy!
Variations and Substitutions
If you’re looking to mix things up with your Red Velvet Ice Cream Cake, there are plenty of variations and substitutions you can try. I love experimenting with different flavors and ingredients to make it even more fun!
Here are some ideas I’ve enjoyed:
- Swap out the cream cheese icing for chocolate or vanilla frosting for a twist.
- Try using different flavored ice creams, like strawberry or cookies and cream, instead of vanilla.
- For a fruity touch, toss in some raspberries or strawberries between the layers.
- Use gluten-free flour if you want to make this dessert suitable for gluten-sensitive friends.
These variations really keep things exciting and can make your Red Velvet Ice Cream Cake uniquely yours!
Storage and Reheating
I often find that proper storage is key to keeping your Red Velvet Ice Cream Cake fresh and delicious.
After making this show-stopper dessert, I like to wrap it tightly in plastic wrap or aluminum foil. This helps prevent freezer burn and keeps flavors intact. If you can’t finish the whole cake in one go, it’ll stay tasty in the freezer for about 4-5 days.
When you’re ready to eat, just let it sit out for about 15 minutes to soften a bit before slicing. Trust me, the rich, velvety goodness is worth the wait!
This cake often brings back sweet memories, and I want to make sure it stays just as delightful for you and your loved ones.
Serving Suggestions
When it’s time to serve your Red Velvet Ice Cream Cake, consider pairing it with a scoop of vanilla ice cream or a drizzle of chocolate sauce for an indulgent twist. Trust me, it’ll elevate the experience!
I love to dig in with family and friends, and here are a few fun ideas to really make it special:
- Top each slice with fresh berries, like strawberries or raspberries, for a pop of color.
- Serve it alongside whipped cream for an extra creamy bite.
- Add a sprinkle of crushed cookies for a delightful crunch.
- Pair with a warm cup of coffee or milk for a cozy touch.
Enjoy sharing this delightful treat, and watch as everyone savors each delicious bite!
In the end, making a red velvet ice cream cake is a fun and rewarding experience that brings joy to everyone who gets a slice! The combination of rich cake and smooth ice cream creates a harmony of flavors that’s simply irresistible.
Whether it’s for a special occasion or a cozy family treat, this dessert is sure to become a new favorite.
So grab your ingredients, invite some friends over, and let’s enjoy the magic of this delightful dessert together!
Red Velvet Ice Cream Cake
To create the perfect Red Velvet Ice Cream Cake, you'll need a specific set of ingredients that blend together beautifully. First, gather the ingredients for the red velvet cake: an egg, oil, buttermilk, vinegar, vanilla, red food coloring, flour, sugar, cocoa, and baking soda.
cake
Ice cream
TOPPING
Instructions
- First, I whisk together the wet ingredients—egg, oil, buttermilk, vinegar, and vanilla—until they blend beautifully.
- In another bowl, I mix the dry ingredients, including flour and sugar, before combining them with the wet mixture.
- I pour that vibrant red batter into two 8-inch pans and bake until a toothpick comes out clean.
- Once the cakes cool, I make the ice cream by whisking cream cheese, sugar, and vanilla, then folding in Cool Whip.
- After crumbling the cake tops into the mix, it's all about layering!
- With patience, I assemble the cake and let it freeze until it's ready to enjoy.
Nutrition Facts
Servings 8
- Amount Per Serving
- Calories 520kcal
- % Daily Value *
- Total Fat 30g47%
- Cholesterol 53mg18%
- Sodium 185mg8%
- Total Carbohydrate 60g20%
- Sugars 48g
- Protein 4.4g9%
* Percent Daily Values are based on a 2,000 calorie diet. Your daily value may be higher or lower depending on your calorie needs.

