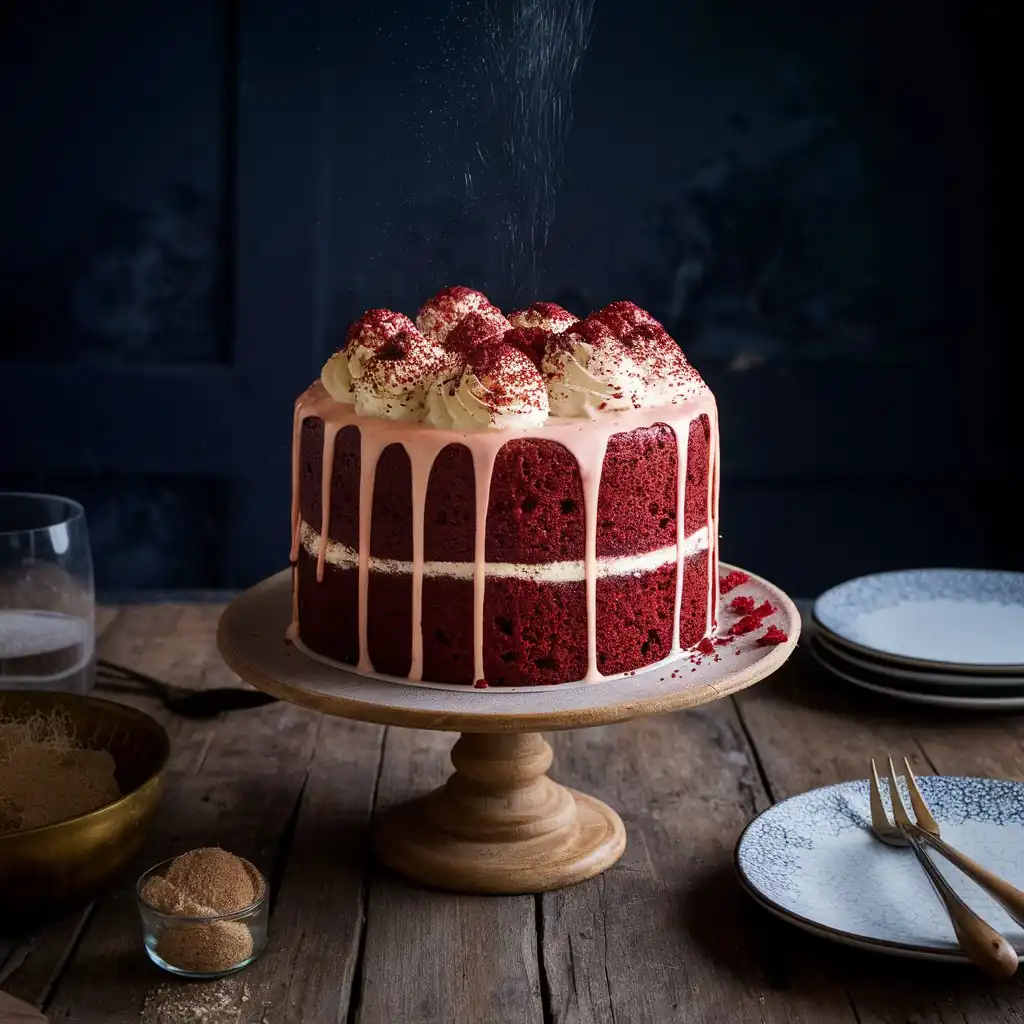
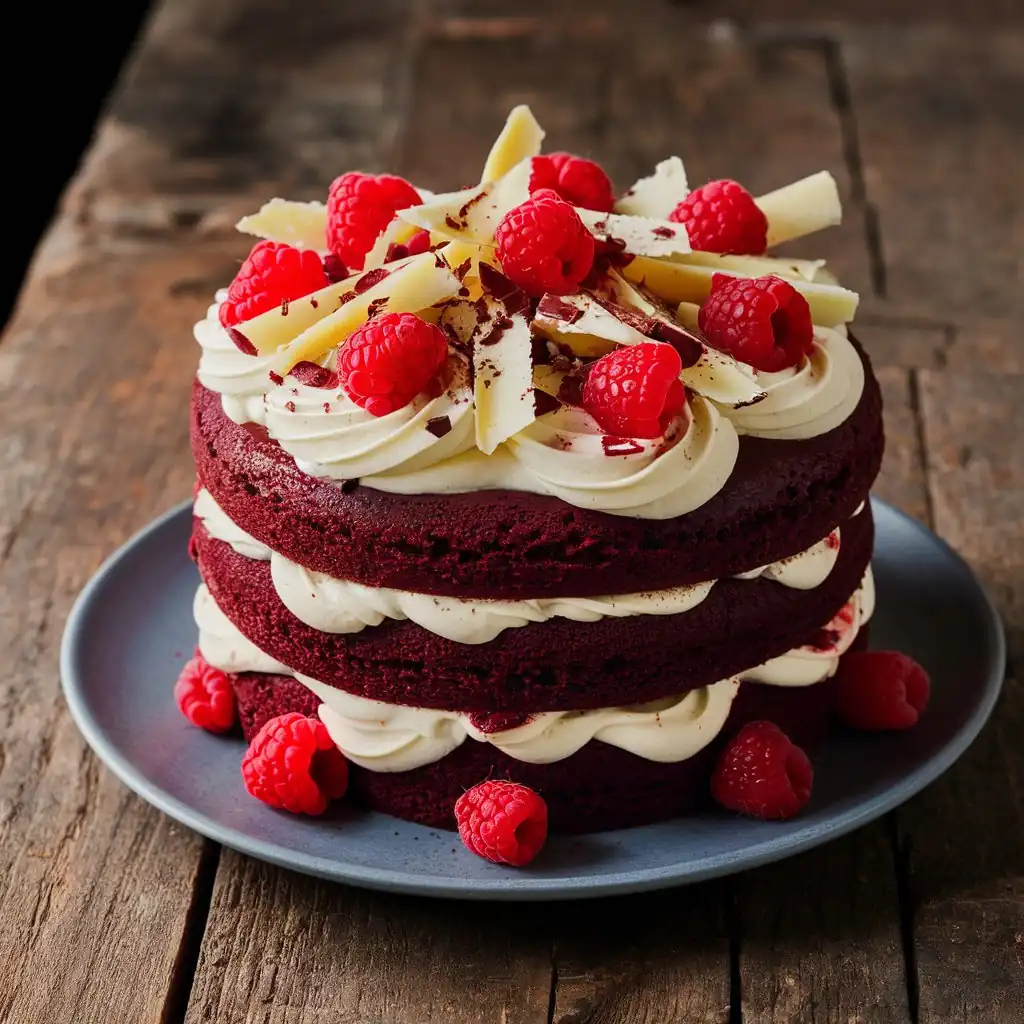
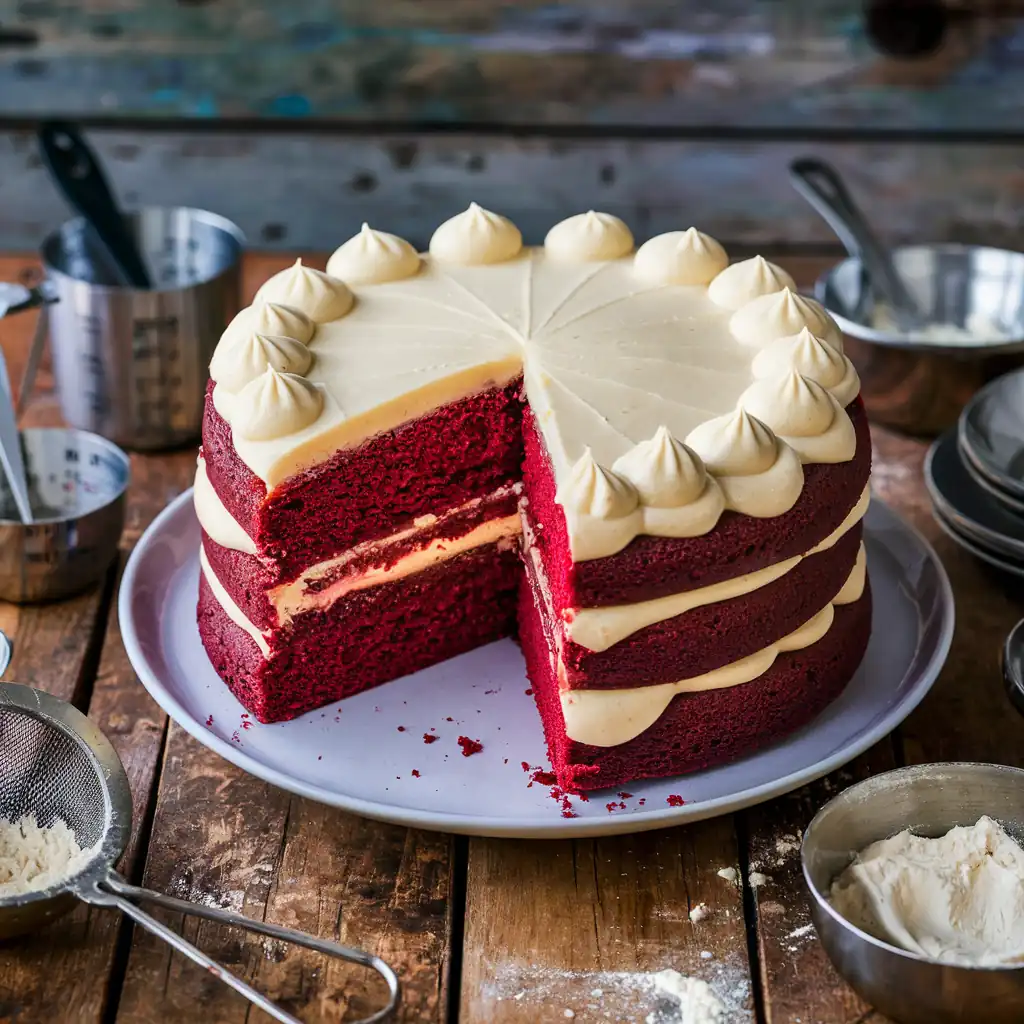
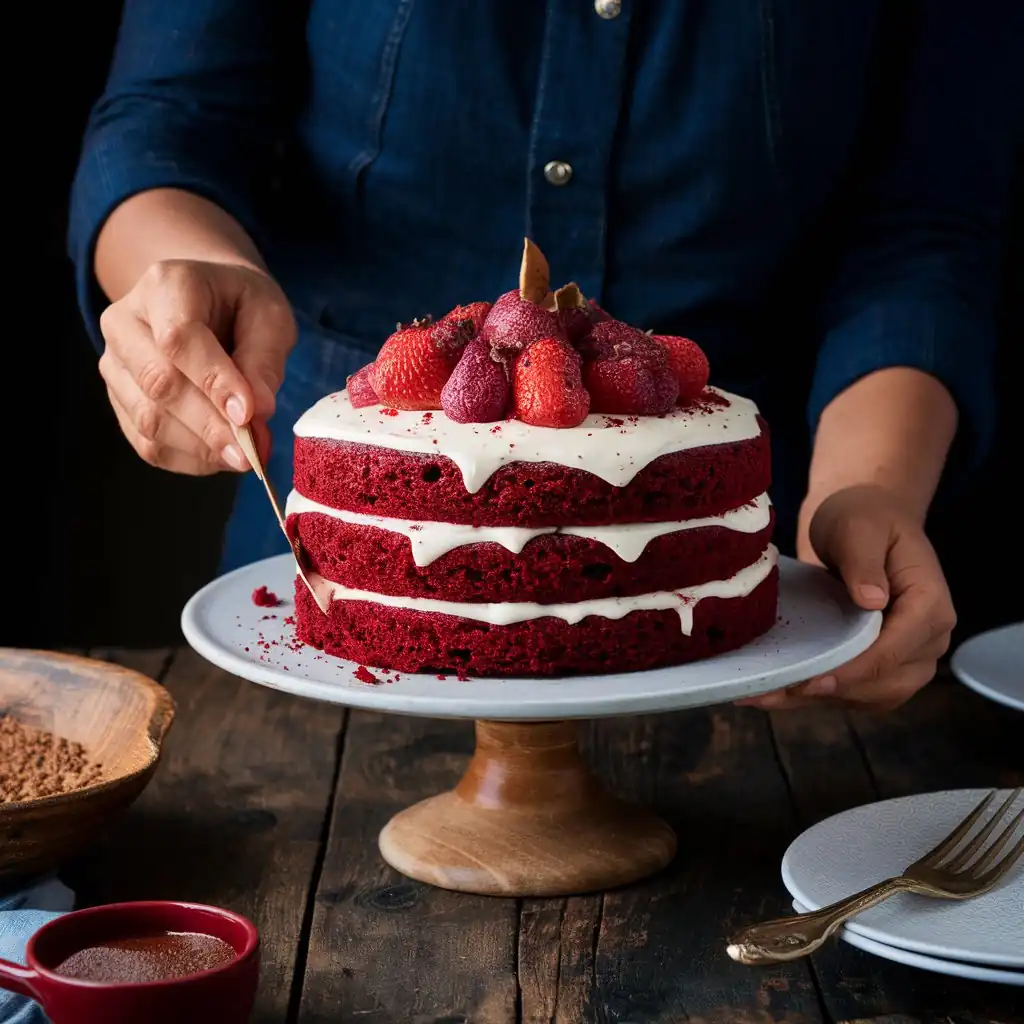
One of the recipes that always held a special place in our hearts was the classic red velvet cake. The rich, velvety texture, the vibrant crimson hue, and the tantalizing blend of cocoa and vanilla flavors made it a true showstopper in our household.
To this day, the aroma of a freshly baked red velvet cake transports me back to those cherished moments in the kitchen, surrounded by the warmth of my family and the joy of creating something truly delightful.
That’s why I’m excited to share with you my authentic recipe for this timeless Southern classic. Get ready to experience the magic of red velvet cake like never before!
3. Ingredients
Cake:
- 1 1/2 cups (300g) white sugar
- 1/2 cup (120ml) shortening
- 2 large eggs
- 4 tablespoons (60ml) red food coloring
- 2 tablespoons (30ml) cocoa powder
- 1 cup (240ml) buttermilk
- 1 teaspoon (5ml) salt
- 1 teaspoon (5ml) vanilla extract
- 2 1/2 cups (315g) all-purpose flour, sifted
- 1 tablespoon (15ml) distilled white vinegar
- 1 1/2 teaspoons (7.5ml) baking soda
Icing:
- 1 cup (240ml) milk
- 5 tablespoons (75g) all-purpose flour
- 1 cup (200g) white sugar
- 1 cup (230g) unsalted butter, at room temperature
- 1 teaspoon (5ml) vanilla extract
4. Equipment
- Mixing bowls (large and medium)
- Electric hand mixer or stand mixer
- Sifter or fine-mesh strainer
- Spatula
- 2 (9-inch) round cake pans
- Wire cooling rack
- Knife or offset spatula
5. Step-by-Step Instructions
Cake:
- Preheat the oven to 350°F (175°C). Grease two 9-inch round cake pans and set aside.
- In a large bowl, beat the sugar and shortening together with an electric mixer until light and fluffy, about 2-3 minutes.
- Add the eggs one at a time, beating well after each addition.
- In a small bowl, mix the red food coloring and cocoa powder to form a smooth paste. Add this to the creamed mixture and beat until well combined.
- In a separate bowl, whisk together the buttermilk, salt, and vanilla.
- Alternately add the sifted flour and the buttermilk mixture to the creamed mixture, mixing just until incorporated after each addition.
- In a small bowl, combine the vinegar and baking soda. Gently fold this mixture into the cake batter.
- Divide the batter evenly between the prepared cake pans.
- Bake for 30-35 minutes, or until a toothpick inserted into the center comes out clean.
- Allow the cakes to cool in the pans for 5 minutes, then invert them onto a wire rack to cool completely, about 30 minutes.
Icing:
- In a saucepan, heat the milk and flour over low heat, stirring constantly, until the mixture thickens to a pudding-like consistency. Remove from heat and let cool completely.
- In a large bowl, beat the sugar, butter, and vanilla together with an electric mixer until light and fluffy.
- Add the cooled flour-milk mixture and continue beating until the frosting reaches a smooth, spreadable consistency.
6. Plating and Presentation
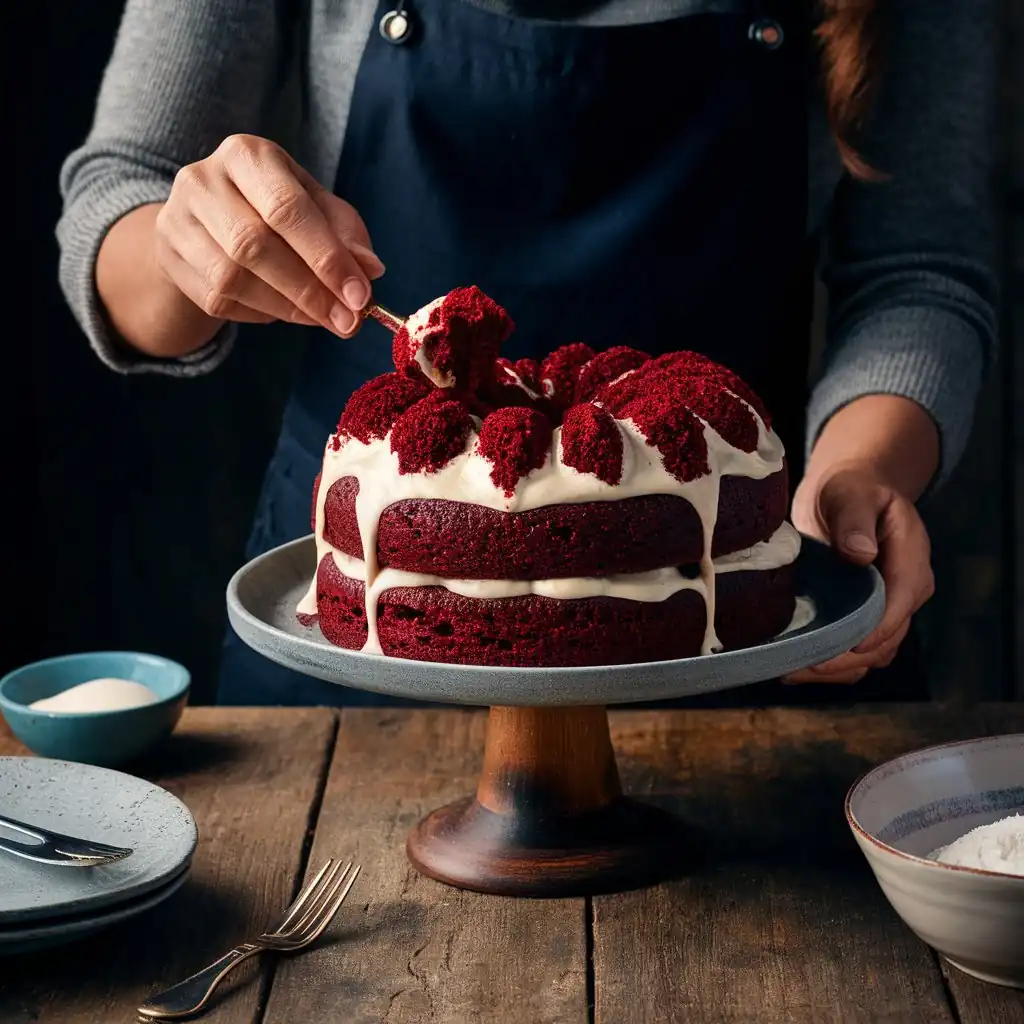
Once the cake layers have cooled completely, use a serrated knife to level the tops if needed. Place one layer on a serving plate or cake stand, and spread a generous amount of the cream cheese frosting on top. Carefully place the second layer on top and frost the entire cake, including the sides, with the remaining frosting.
For a beautiful and Instagram-worthy presentation, consider using a cake turntable and a cake comb or offset spatula to create smooth, even sides. Finish the cake by sprinkling some reserved red velvet cake crumbs on top or around the base for a rustic, homemade touch.
Red velvet cake is a decadent treat, but it can be enjoyed as part of a balanced diet. The combination of buttermilk, cocoa powder, and minimal amounts of food coloring provides a unique flavor profile and a boost of antioxidants from the cocoa.
8. Chef’s Tips and Tricks
- Use room temperature ingredients for best results. This helps them incorporate more easily and ensures a smooth, even batter.
- Sift the dry ingredients to prevent any lumps in the cake batter.
- Be careful not to overmix the batter, as this can result in a tough, dense texture.
- Use a kitchen scale to ensure accurate measurements for the best texture and rise.
- Bake the cakes in the lower third of the oven to promote even cooking.
- Wrap the cooled cake layers in plastic wrap and freeze for up to a week before assembling and frosting, if desired.
9. Variations and Substitutions
- For a dairy-free version, substitute the buttermilk with a plant-based milk (such as almond or oat milk) mixed with 1 tablespoon of lemon juice or white vinegar.
- Replace the shortening in the cake with an equal amount of unsalted butter for a richer flavor.
- Swap the cream cheese frosting for a classic ermine (cooked flour) frosting for a more traditional pairing.
- Add a teaspoon of espresso powder to the cake batter to enhance the chocolate notes.
- Fold in 1/2 cup of chopped pecans or walnuts to the cake batter for a delightful crunch.
10. Storage and Reheating
Leftover red velvet cake can be stored in an airtight container at room temperature for up to 3 days or in the refrigerator for up to 1 week.
For best quality, it’s recommended to store the unfrosted cake layers in the freezer for up to 3 months, then thaw and assemble the cake when ready to serve.
To reheat a slice of red velvet cake, simply place it on a microwave-safe plate and heat for 20-30 seconds, or until slightly warmed through. Avoid overheating, as this can dry out the cake.
11. Serving Suggestions
Red velvet cake pairs beautifully with a variety of beverages. Consider serving it with a hot cup of coffee, a cold glass of milk, or a refreshing glass of iced tea.
For a more indulgent pairing, a small glass of port or a creamy Irish coffee can be a delightful accompaniment.
If you’re looking to elevate the dessert, try serving the red velvet cake with a scoop of vanilla ice cream or a dollop of freshly whipped cream. The contrast of the cool, creamy topping with the rich, velvety cake is simply divine.
12. Recipe Origin and History
The origins of red velvet cake can be traced back to the late 19th century, when it was first popularized in the Southern United States. The unique reddish-brown hue of the cake was originally achieved through the use of natural cocoa powder and a chemical reaction with an acidic ingredient, such as buttermilk or vinegar.
Over time, the recipe evolved, and the addition of red food coloring became a common practice to achieve the vibrant red color we associate with red velvet today. This classic cake gained widespread popularity in the mid-20th century, becoming a staple at weddings, holidays, and special occasions throughout the South and beyond.
Red Velvet Cake Recipe
Discover the secrets to making the perfect red velvet cake with this authentic recipe. Indulge in the rich
Cake
Icing:
For the Cake:
- Preheat the oven to 350°F (175°C). Grease two 9-inch round cake pans and set aside.
- In a large bowl, beat the sugar and shortening together with an electric mixer until light and fluffy, about 2-3 minutes.
- Add the eggs one at a time, beating well after each addition.
- In a small bowl, mix the red food coloring and cocoa powder to form a smooth paste. Add this to the creamed mixture and beat until well combined.
- In a separate bowl, whisk together the buttermilk, salt, and vanilla.
- Alternately add the sifted flour and the buttermilk mixture to the creamed mixture, mixing just until incorporated after each addition.
- In a small bowl, combine the vinegar and baking soda. Gently fold this mixture into the cake batter.
- Divide the batter evenly between the prepared cake pans.
- Bake for 30-35 minutes, or until a toothpick inserted into the center comes out clean.
- Allow the cakes to cool in the pans for 5 minutes, then invert them onto a wire rack to cool completely, about 30 minutes.
Icing:
- In a saucepan, heat the milk and flour over low heat, stirring constantly, until the mixture thickens to a pudding-like consistency. Remove from heat and let cool completely.
- In a large bowl, beat the sugar, butter, and vanilla together with an electric mixer until light and fluffy.
- Add the cooled flour-milk mixture and continue beating until the frosting reaches a smooth, spreadable consistency.
Nutrition Facts
Servings 6
- Amount Per Serving
- Calories 515kcal
- % Daily Value *
- Total Fat 25g39%
- Sodium 504mg21%
- Total Carbohydrate 68g23%
- Protein 6g12%
- Calcium 64 mg
- Iron 2 mg
* Percent Daily Values are based on a 2,000 calorie diet. Your daily value may be higher or lower depending on your calorie needs.
Note
- Use room temperature ingredients for best results. This helps them incorporate more easily and ensures a smooth, even batter.
- Sift the dry ingredients to prevent any lumps in the cake batter.
- Be careful not to overmix the batter, as this can result in a tough, dense texture.
- Use a kitchen scale to ensure accurate measurements for the best texture and rise.
- Bake the cakes in the lower third of the oven to promote even cooking.
- Wrap the cooled cake layers in plastic wrap and freeze for up to a week before assembling and frosting, if desired.

