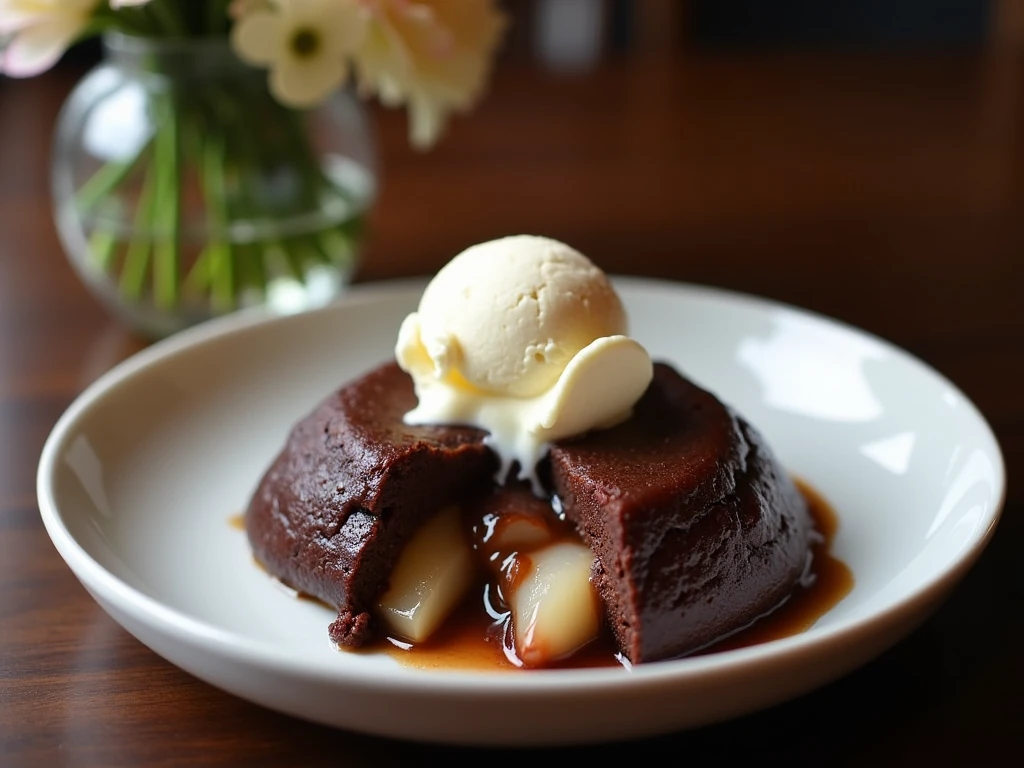
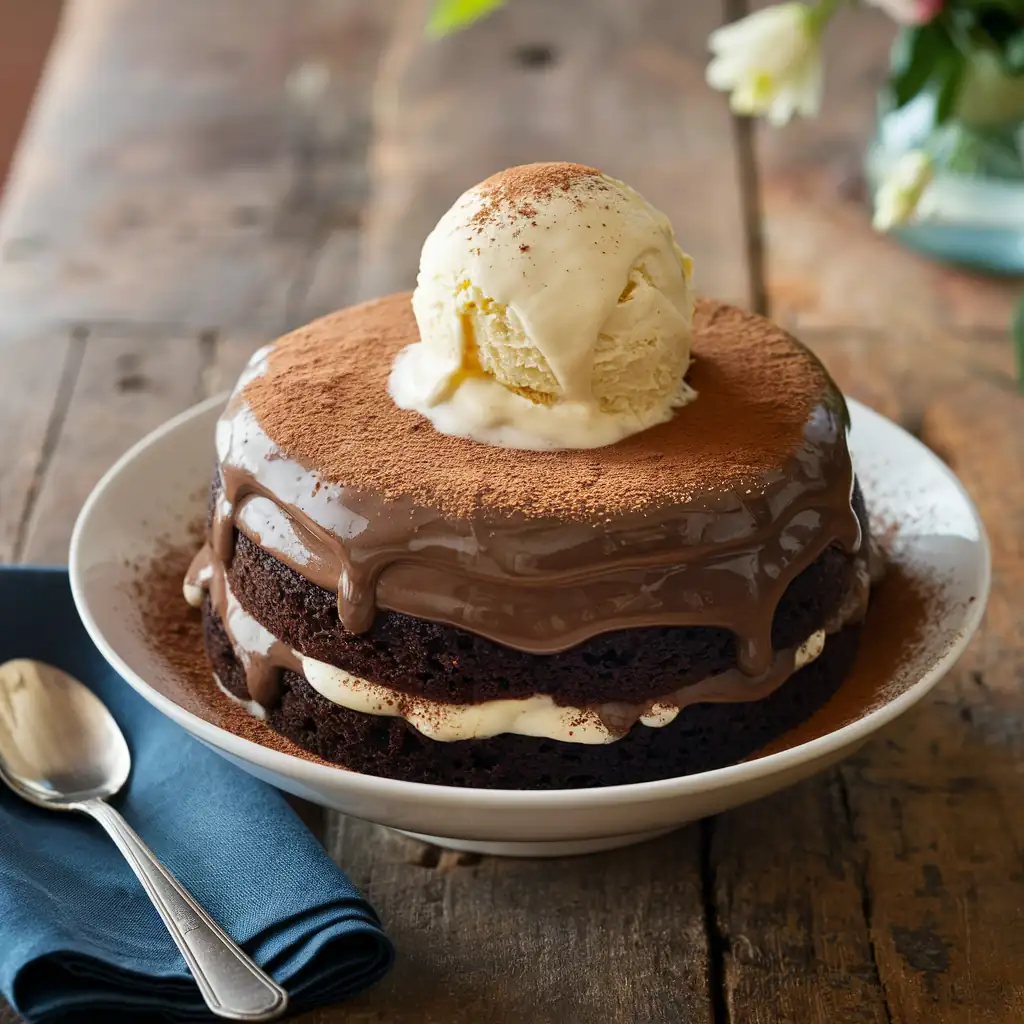
There’s something magical about a bowl of homemade vanilla pudding. Its silky smooth texture and rich, comforting flavor can transport you back to childhood with just one spoonful.
Today, I’m excited to share my favorite vanilla pudding recipe that’s sure to become a staple in your dessert repertoire. Let’s dive into the world of creamy, dreamy pudding perfection!
The Allure of Homemade Vanilla Pudding
Vanilla pudding might seem like a simple dessert, but when made from scratch, it transforms into something truly special.
The depth of flavor you get from real vanilla and the luxurious texture achieved through careful cooking simply can’t be matched by instant mixes.
Plus, there’s a certain pride in creating something so delicious with your own two hands.
Gathering Your Ingredients
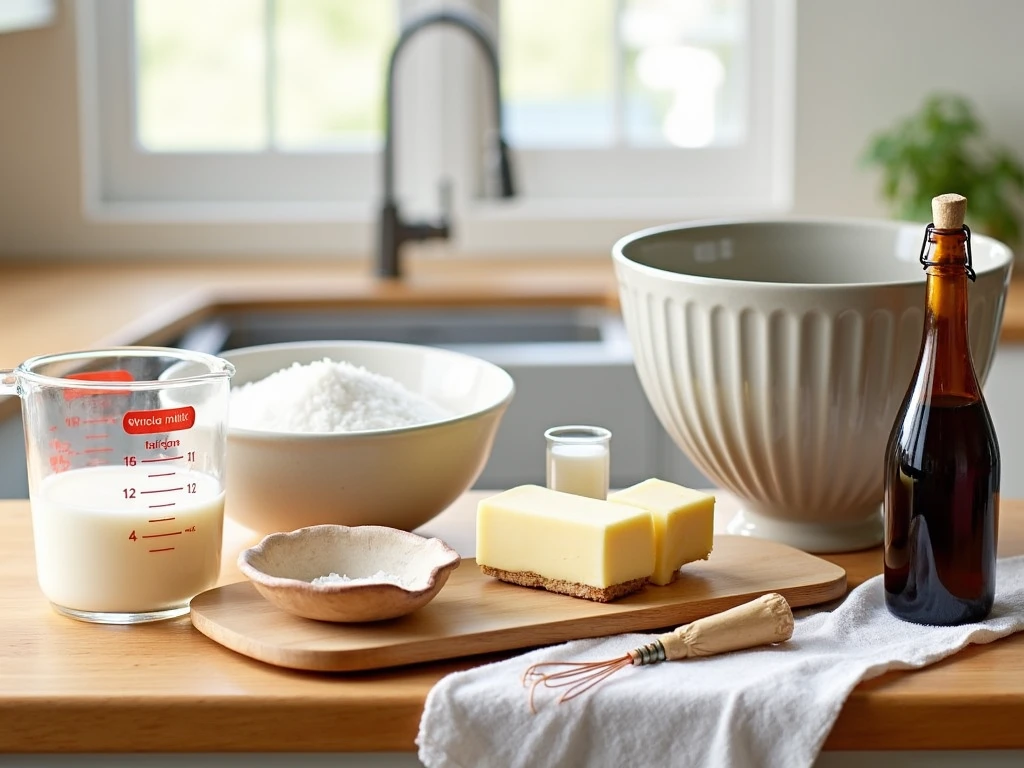
Before we start whisking and stirring, let’s round up our cast of characters. Here’s what you’ll need:
- 3 cups whole milk
- 3/4 cup granulated sugar
- 1/4 cup cornstarch
- 1/4 teaspoon salt
- 3 large egg yolks
- 2 tablespoons unsalted butter
- 2 teaspoons pure vanilla extract
Quality ingredients make all the difference here. I always opt for whole milk for its richness, and splurging on a good vanilla extract is worth every penny.
Trust me, your taste buds will thank you!
The Art of Pudding Making
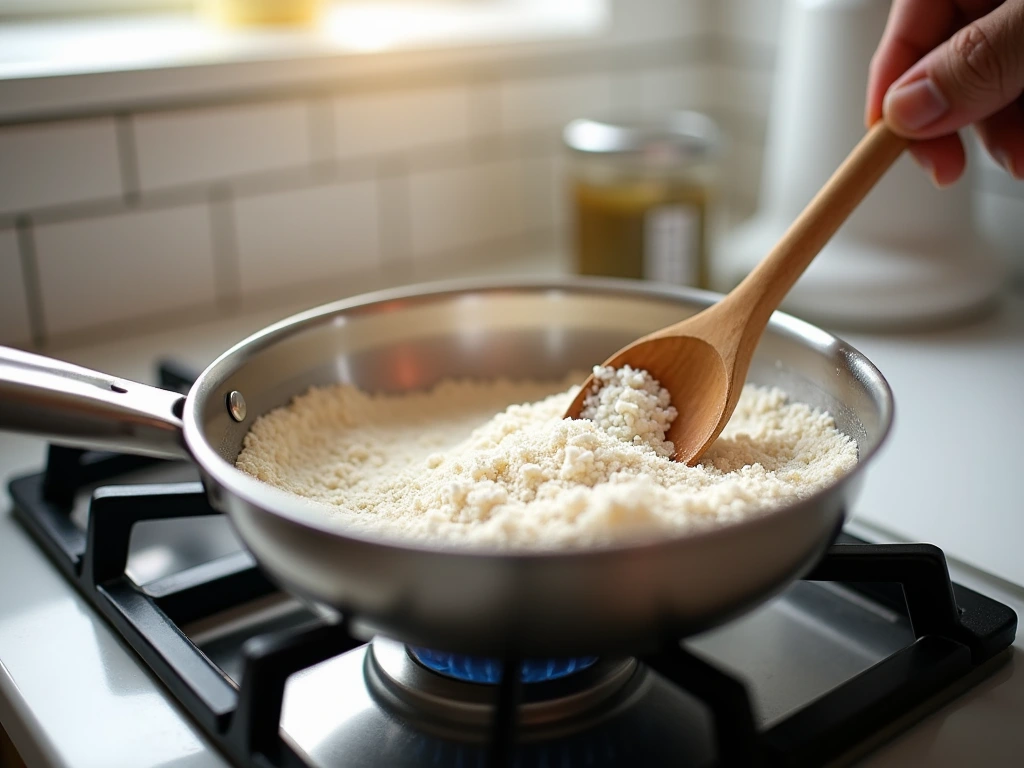
Now, let’s roll up our sleeves and get cooking. Don’t worry if you’ve never made pudding before – I’ll walk you through every step.
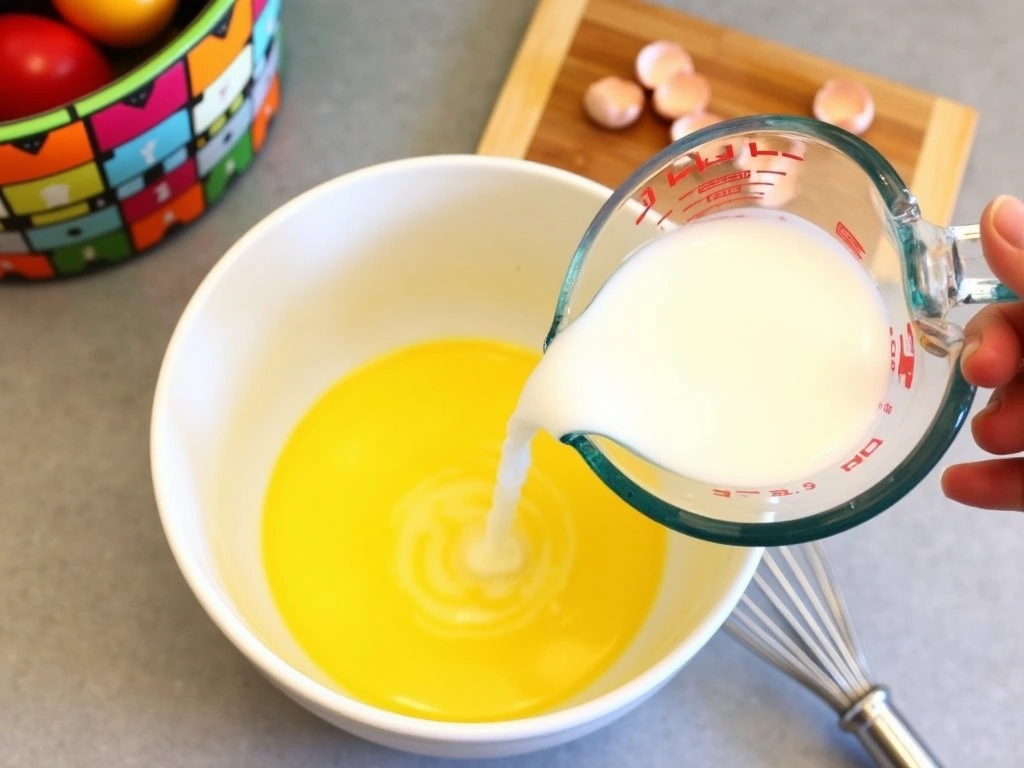
- In a medium saucepan, whisk together the sugar, cornstarch, and salt. This dry mixture will be the foundation of our pudding.
- Gradually whisk in the milk, making sure to eliminate any lumps. It’s like we’re creating a blank canvas for our vanilla masterpiece.
- Cook over medium heat, stirring constantly. This is where patience comes in handy – keep that spoon moving to prevent scorching.
- As the mixture starts to thicken and bubble, reduce the heat to low. We’re looking for a gentle simmer, not a volcanic eruption of pudding!
- In a separate bowl, whisk those egg yolks. Now, here’s a crucial step: temper the eggs by slowly adding about 1 cup of the hot milk mixture while whisking constantly. This prevents the eggs from scrambling and gives us that silky texture we’re after.
- Pour the tempered egg mixture back into the saucepan, whisking constantly. Cook for another 2-3 minutes until the pudding is thick enough to coat the back of a spoon.
- Remove from heat and stir in the butter and vanilla extract. Watch as the butter melts and adds a beautiful sheen to your pudding.
- Pour the pudding through a fine-mesh strainer into a bowl. This extra step ensures a perfectly smooth consistency.
- Press plastic wrap directly onto the surface of the pudding to prevent a skin from forming. Then, chill for at least 2 hours or until set.
The Waiting Game and Serving Suggestions
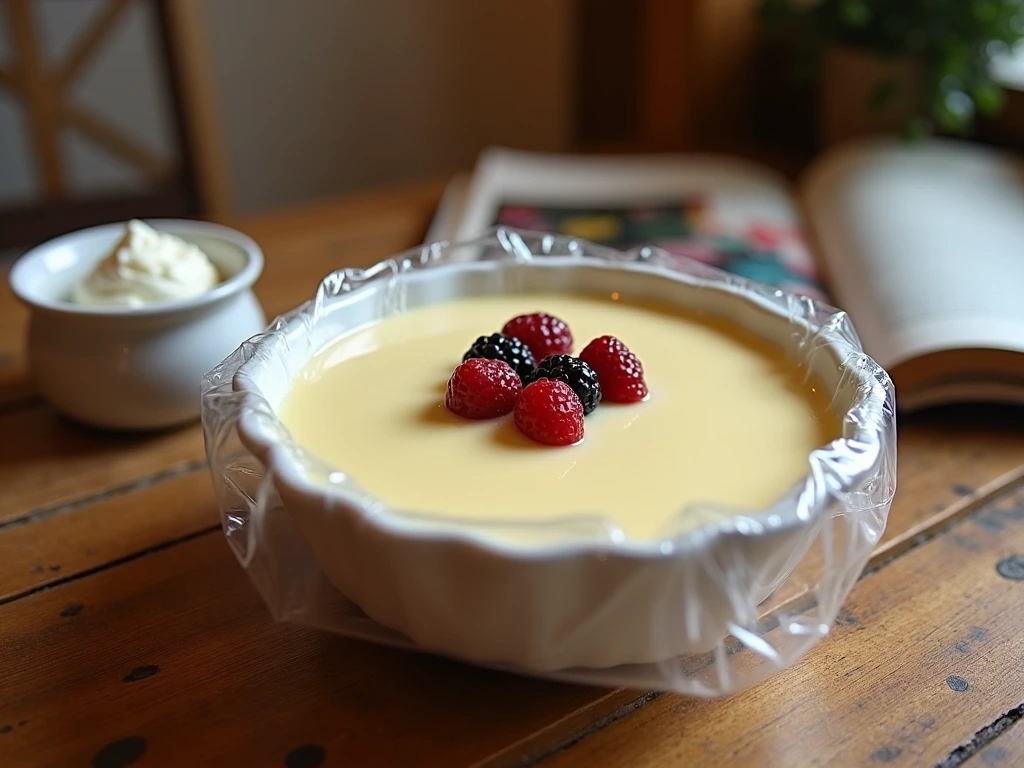
I know it’s tempting to dive right in, but letting your pudding chill properly is crucial for achieving that perfect texture. While you wait, why not dream up some delicious ways to serve your creation?
- Classic: A simple dollop of whipped cream and a sprinkle of cinnamon
- Fruity: Layer with fresh berries for a quick and easy parfait
- Decadent: Drizzle with warm chocolate sauce for a heavenly contrast
- Nostalgic: Crumble some vanilla wafers on top for a twist on banana pudding (minus the bananas!)
Troubleshooting Tips for Pudding Perfection
Even the most experienced cooks can run into hiccups. Here are some common pudding problems and how to solve them:
- Lumpy pudding: Strain it through a fine-mesh sieve while it’s still hot.
- Too thin: Cook it a bit longer, or add a cornstarch slurry (1 tablespoon cornstarch mixed with 1 tablespoon cold water).
- Too thick: Whisk in a little extra milk while the pudding is still warm.
- Skin on top: Always press plastic wrap directly onto the surface before chilling.
Variations to Spice Up Your Pudding Game
Once you’ve mastered the basic vanilla pudding, why not experiment with some variations?
- Chocolate lover’s dream: Add 1/4 cup of cocoa powder to the dry ingredients.
- Coconut paradise: Replace 1 cup of milk with coconut milk and add 1/2 cup toasted coconut flakes.
- Maple madness: Swap out 1/4 cup of the sugar for pure maple syrup.
- Lavender luxury: Infuse the milk with a teaspoon of dried culinary lavender before straining and proceeding with the recipe.
The History in Your Bowl
Did you know that pudding has been around for centuries? The ancient Romans enjoyed early versions of milk-based puddings, but it wasn’t until the 19th century that pudding as we know it today became popular.
In fact, the first boxed pudding mix hit the shelves in 1918, forever changing the dessert landscape. But as delightful as those quick mixes can be, there’s nothing quite like the real deal made from scratch.
Why Homemade Pudding Wins Every Time
In a world of convenience foods, taking the time to make homemade vanilla pudding might seem like a luxury. But here’s why it’s worth the effort:
- Control over ingredients: You know exactly what’s going into your dessert – no preservatives or artificial flavors here!
- Customization: Adjust the sweetness, experiment with different vanillas, or add your own twist.
- Impressive factor: Serving homemade pudding to guests always earns oohs and aahs.
- Therapeutic cooking: There’s something soothing about stirring a pot of pudding and watching it transform.
- Unbeatable flavor: The depth and richness of homemade simply can’t be matched by instant versions.
Storing Your Liquid Gold
If you manage to resist eating all your pudding in one sitting (kudos to your willpower!), here’s how to store it:
- Keep refrigerated in an airtight container with plastic wrap pressed directly on the surface.
- Enjoy within 3-4 days for the best flavor and texture.
- Unfortunately, this pudding doesn’t freeze well, so it’s best enjoyed fresh.
A Final Note on Pudding Perfection
As you savor your homemade vanilla pudding, remember that cooking is as much about the journey as it is about the destination.
Each time you make this recipe, you’ll discover little tricks and preferences that make it uniquely yours. Maybe you’ll find that an extra splash of vanilla is your secret weapon, or that a pinch of nutmeg takes it to the next level.
Homemade Vanilla Pudding Recipe: Creamy Comfort in a Bowl
Discover the ultimate homemade vanilla pudding recipe! This creamy dessert is easy to make, delicious, and perfect for any occasion.
Ingredients
Instructions
- In a medium saucepan, whisk together sugar, cornstarch, and salt.
- Gradually whisk in the milk until smooth.
- Cook over medium heat, stirring constantly until it thickens and bubbles.
- Reduce heat to low. In a separate bowl, whisk the egg yolks. Temper by slowly adding 1 cup of the hot mixture to the yolks while whisking.
- Pour the tempered yolk mixture back into the saucepan and cook for 2-3 minutes until thickened.
- Remove from heat and stir in butter and vanilla extract.
- Strain the pudding through a fine-mesh sieve into a bowl.
- Press plastic wrap onto the surface and chill for at least 2 hours before serving.
Nutrition Facts
Servings 4
Serving Size 1
- Amount Per Serving
- Calories 250kcal
- % Daily Value *
- Total Fat 9g14%
- Total Carbohydrate 38g13%
- Sugars 25g
- Protein 6g12%
* Percent Daily Values are based on a 2,000 calorie diet. Your daily value may be higher or lower depending on your calorie needs.
