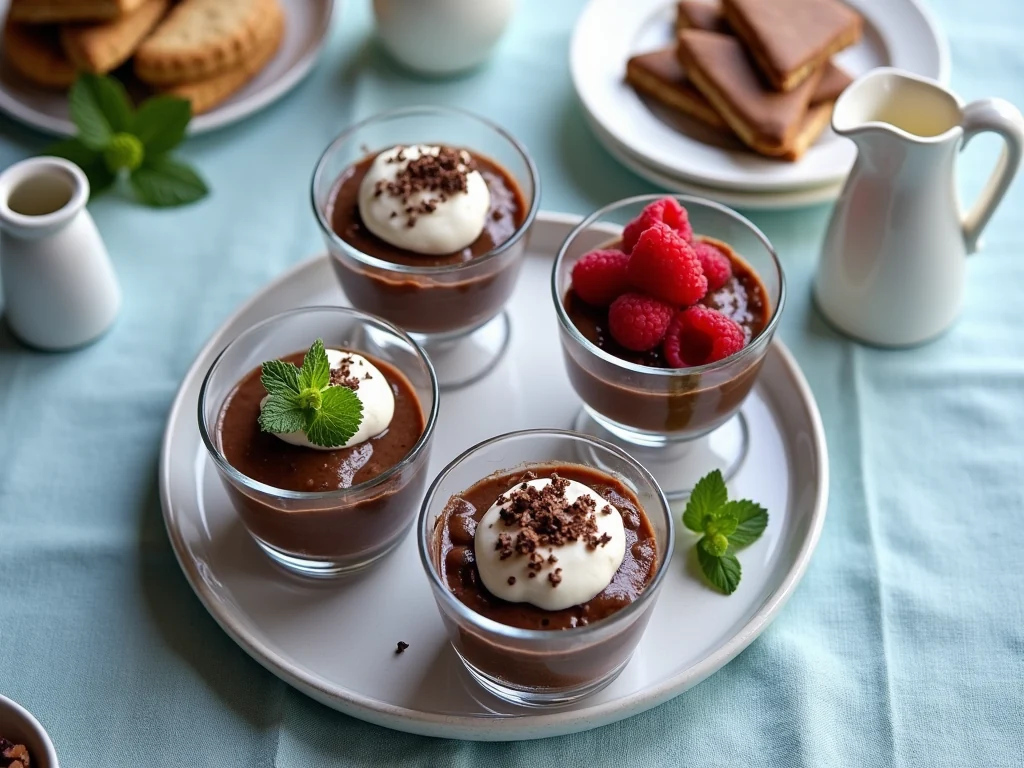
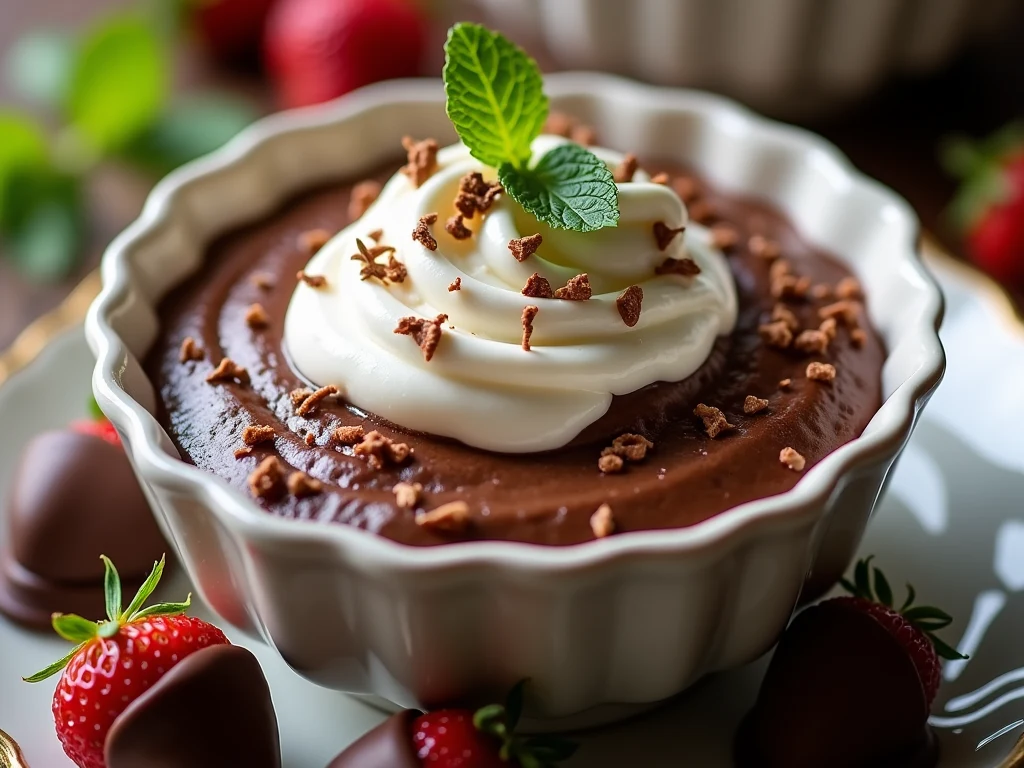
Remember those little chocolate pudding cups we used to love as kids? The ones that made lunchtime feel like a special treat? Well, I’ve got some good news for you – we can recreate that magic, but with a healthier twist!
I’m excited to share my favorite dairy-free chocolate pudding recipe that’s just as creamy and delicious as the original, but without any of the dairy. Let’s dive into this chocolatey adventure together!
Why Go Dairy-Free?
You might be wondering, “Why bother with dairy-free pudding?” Well, there are lots of reasons!
Maybe you’re lactose intolerant, following a vegan diet, or just looking to cut back on dairy. Whatever your reason, this pudding is a game-changer. It’s rich, smooth, and so chocolatey that you won’t even miss the milk.
The Secret Ingredients
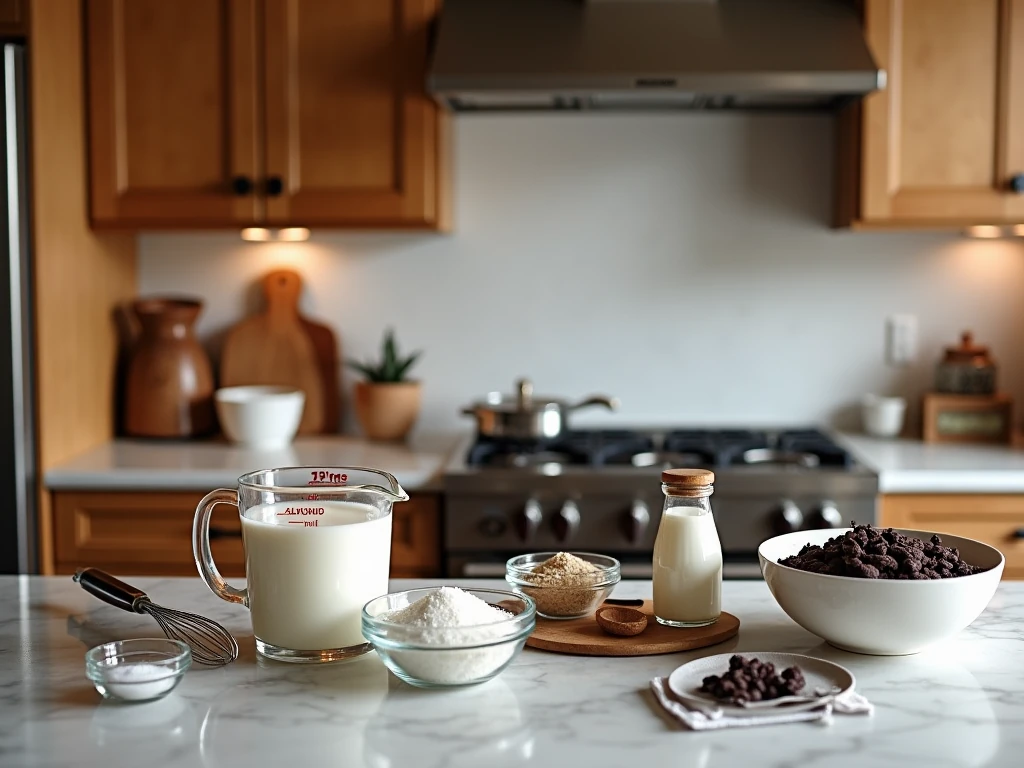
The magic of this pudding lies in its simple ingredients. We’re swapping out regular milk for almond milk (or any non-dairy milk you prefer).
Cocoa powder and dairy-free chocolate chips bring the chocolate flavor, while cornstarch helps thicken everything up.
A touch of vanilla extract adds depth, and a pinch of salt enhances all the flavors. It’s like a chocolate symphony in a bowl!
Let’s Make Some Pudding!
Alright, let’s roll up our sleeves and get cooking. This recipe is so easy, you’ll wonder why you haven’t been making pudding from scratch all along.
Ingredients:
- 3 cups unsweetened almond milk
- 1/3 cup cocoa powder
- 1/4 cup cornstarch
- 1/2 cup granulated sugar
- 1/4 teaspoon salt
- 1 cup dairy-free dark chocolate chips
- 1 teaspoon vanilla extract
Instructions:
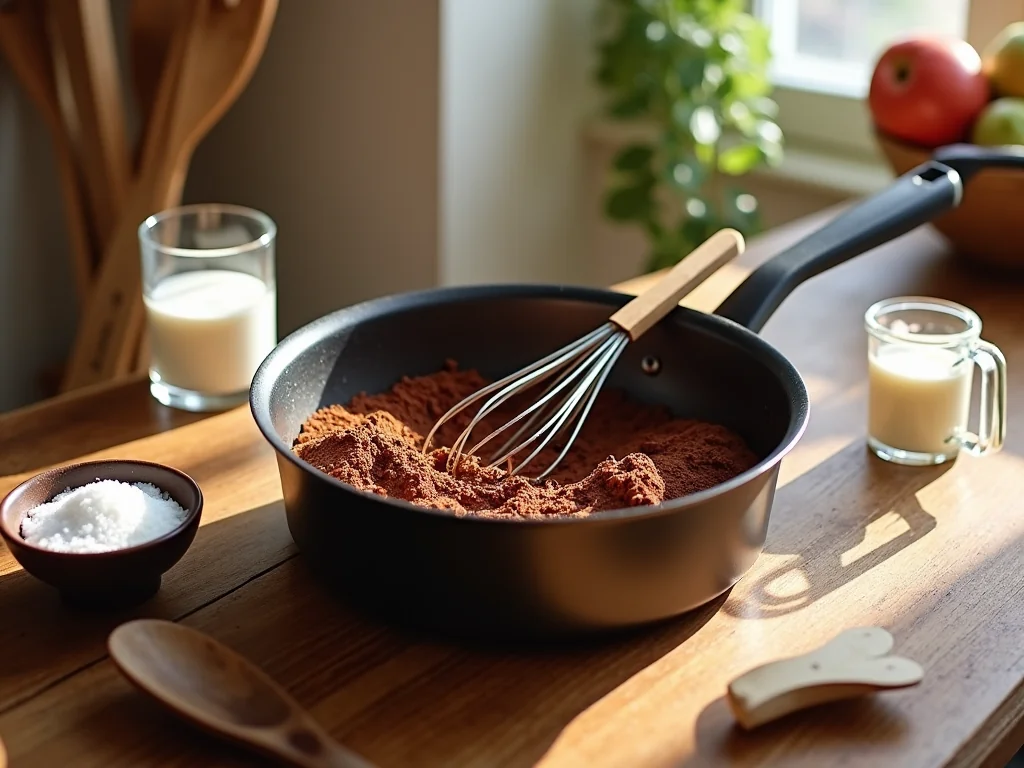
- In a medium saucepan, whisk together the cocoa powder, cornstarch, sugar, and salt. This dry mix is the foundation of our pudding.
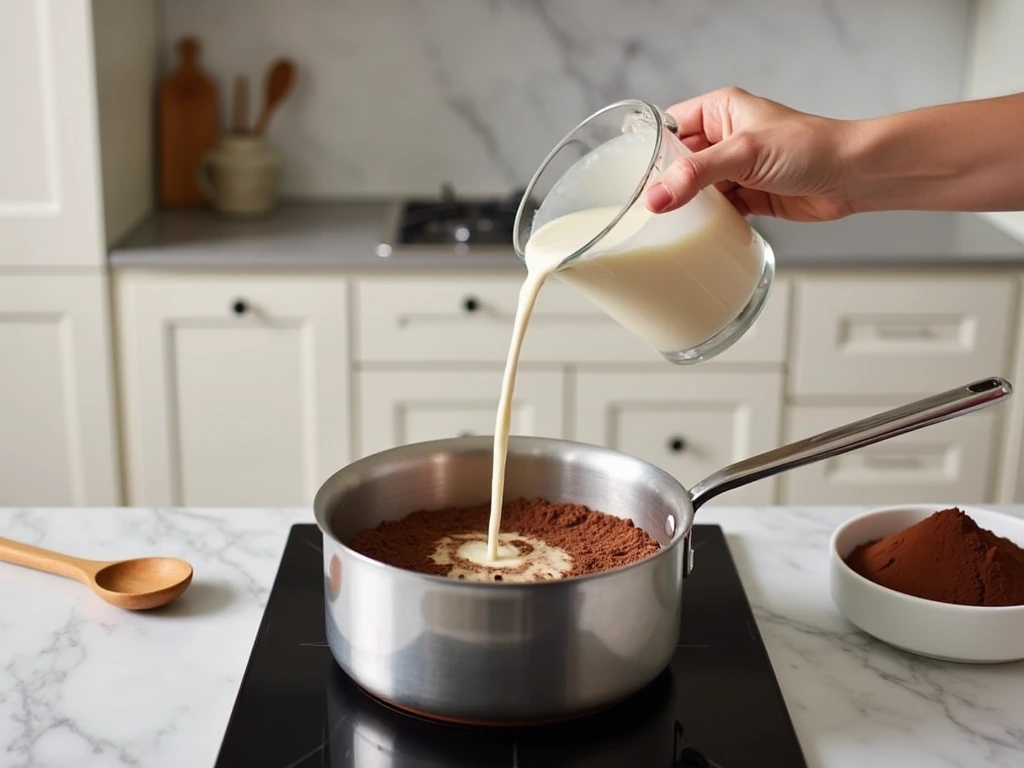
- Slowly pour in the almond milk, whisking constantly to avoid any lumps. It’s like painting – smooth strokes make for the best results!
- Place the saucepan over medium heat. Keep whisking! We want to channel our inner witch stirring a cauldron of deliciousness.
- As the mixture heats up, it’ll start to thicken. This usually takes about 5-7 minutes. You’ll know it’s ready when it coats the back of a spoon and leaves a clear path when you run your finger through it.
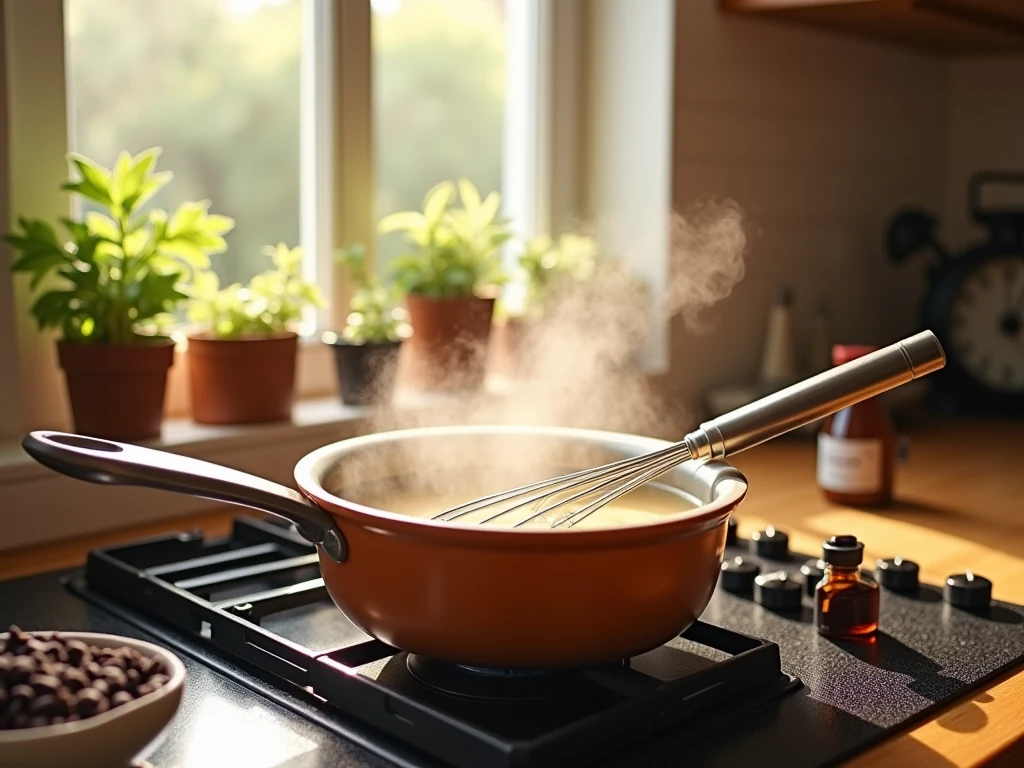
- Remove from heat and add the chocolate chips and vanilla extract. Stir until the chocolate is completely melted and everything is smooth and glossy.
- Pour the pudding into individual serving bowls or one large bowl. If you’re not a fan of pudding skin (I know, it’s a divisive topic!), press some plastic wrap directly onto the surface of the pudding.

- Chill in the refrigerator for at least 2 hours, or until set. The waiting is the hardest part, but I promise it’s worth it!
Tips for Pudding Perfection
- Whisk, whisk, whisk: Constant whisking is key to avoiding lumps and achieving that silky-smooth texture we’re after.
- Choose your chocolate wisely: The better the chocolate, the better the pudding. I like using dark chocolate chips for a rich flavor, but feel free to experiment with your favorite dairy-free chocolate.
- Get creative with toppings: Once chilled, top your pudding with fresh berries, a sprinkle of cinnamon, or even some dairy-free whipped cream for extra indulgence.
- Make it your own: Feel free to play around with flavors. Add a dash of peppermint extract for a minty twist, or a sprinkle of espresso powder for a mocha vibe.
Troubleshooting Your Pudding
Sometimes, things don’t go exactly as planned in the kitchen. But don’t worry, I’ve got your back! Here are some common pudding problems and how to fix them:
- Lumpy pudding: If you end up with lumps, don’t panic! Pour the pudding through a fine-mesh strainer before chilling. Crisis averted!
- Pudding too thin: If your pudding isn’t thickening up, try cooking it for a few minutes longer. Still not working? Mix a tablespoon of cornstarch with a tablespoon of cold water and whisk it into the pudding.
- Pudding too thick: Easy fix! Just whisk in a little more almond milk until you reach your desired consistency.
Storing Your Dairy-Free Delight
This pudding keeps well in the fridge for up to 5 days. Store it in an airtight container with plastic wrap pressed directly on the surface to prevent a skin from forming (unless you’re into that sort of thing!).
Pro tip: This pudding freezes beautifully! Pour it into popsicle molds for a fun, frosty treat on hot summer days.
Health Benefits: Yes, Pudding Can Be Good for You!
Now, I’m not saying this pudding is a superfood, but it does have some perks:
- Lower in saturated fat: By using almond milk instead of whole milk, we’re cutting down on saturated fat.
- Rich in antioxidants: Dark chocolate is packed with antioxidants, which are great for your overall health.
- Lactose-free: Perfect for those with lactose intolerance or dairy allergies.
- Vegan-friendly: This pudding is 100% plant-based, making it suitable for vegans.
Nutritional Information
Here’s a quick breakdown of what you’re getting in each serving (assuming this recipe makes 6 servings):
| Nutrient | Amount per Serving |
|---|---|
| Calories | 220 |
| Fat | 11g |
| Carbohydrates | 31g |
| Protein | 3g |
| Fiber | 3g |
| Sugar | 22g |
Remember, these are approximate values and can vary based on the specific brands of ingredients you use.
Pudding Variations to Try
Once you’ve mastered this basic recipe, why not get a little adventurous? Here are some fun variations to try:
- Chocolate-Orange Pudding: Add the zest of one orange to the mixture for a citrusy kick.
- Chocolate-Hazelnut Pudding: Stir in 2 tablespoons of hazelnut butter for a Nutella-like treat.
- Mexican Chocolate Pudding: Add 1/2 teaspoon of cinnamon and a pinch of cayenne pepper for a spicy twist.
- Chocolate-Coconut Pudding: Use coconut milk instead of almond milk and top with toasted coconut flakes.
- Chocolate-Banana Pudding: Layer the chilled pudding with sliced bananas and dairy-free vanilla wafers for a twist on classic banana pudding.
A Walk Down Memory Lane
Making this pudding always takes me back to my childhood kitchen. I remember standing on a step stool, eagerly watching my mom stir a pot of pudding on the stove. The way the kitchen filled with the rich aroma of chocolate, the anticipation as we waited for it to cool… those are some of my favorite memories.
Now, as I make this dairy-free version, I feel like I’m creating new memories while honoring the old ones. It’s a beautiful thing, how food can connect us to our past while also adapting to our present needs and tastes.
Wrapping It Up
So there you have it, folks – a delicious, creamy, dairy-free chocolate pudding that’s sure to satisfy your sweet tooth and bring back some childhood nostalgia. Whether you’re dairy-free by choice or necessity, this pudding proves that you don’t have to miss out on the good stuff.
Remember, cooking is all about having fun and making something you love. So don’t stress if your pudding isn’t perfect the first time around. Practice makes perfect, and even imperfect pudding is still chocolate pudding, right?
I hope you enjoy making (and eating!) this pudding as much as I do. It’s become a staple in my house, and I have a feeling it might become one in yours too. Happy pudding making!
Creamy Dairy-Free Chocolate Pudding
Indulge in this creamy dairy-free chocolate pudding that's easy to make and perfect for satisfying your sweet tooth—rich in flavor and vegan-friendly!
Ingredients
Instructions
- In a medium saucepan, whisk together cocoa powder, cornstarch, sugar, and salt.
- Slowly pour in almond milk, whisking constantly to avoid lumps.
- Place over medium heat and whisk continuously until the mixture thickens (about 5-7 minutes).
- Remove from heat, stir in chocolate chips and vanilla until smooth.
- Pour into serving bowls and cover with plastic wrap to prevent skin formation.
- Chill in the refrigerator for at least 2 hours before serving.
