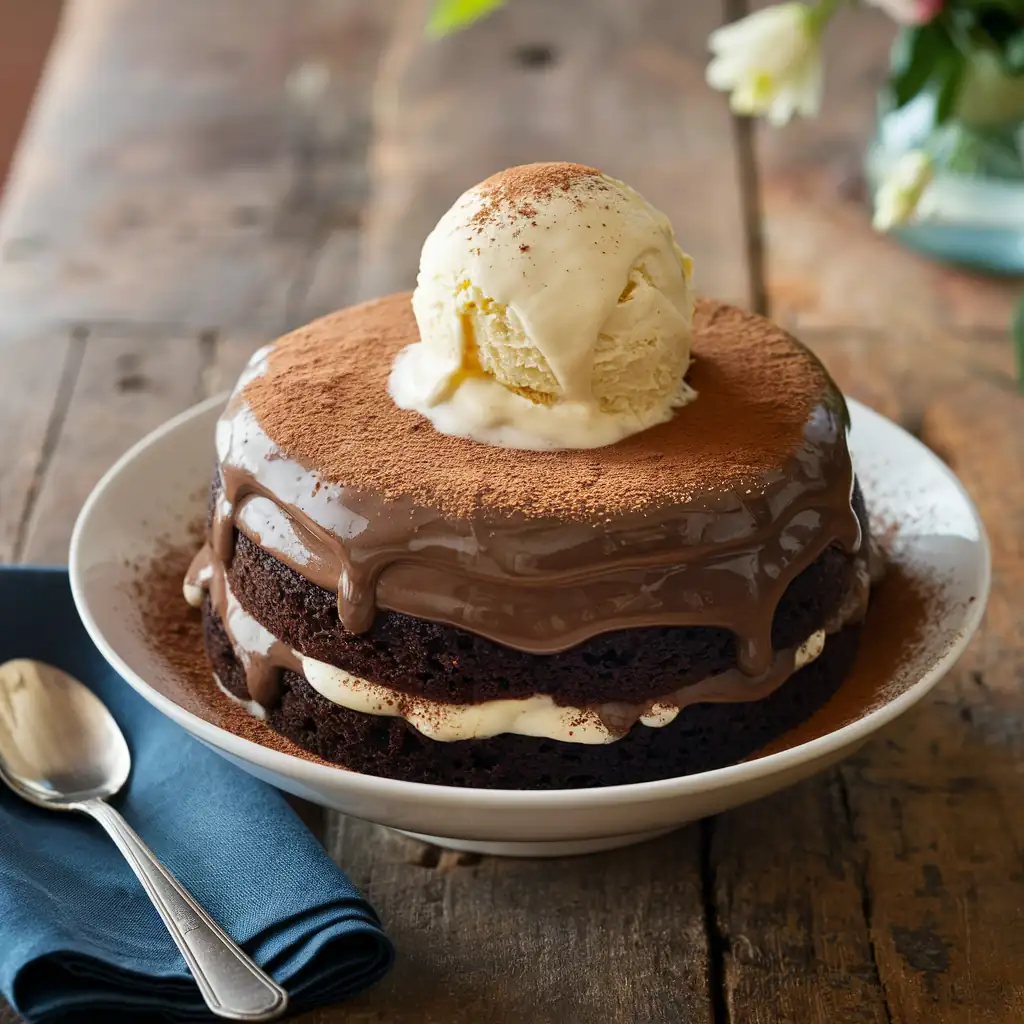
I’ve always had a soft spot for chocolate pudding. It’s one of those desserts that takes me right back to childhood, with memories of my mom stirring a pot on the stove and the rich aroma filling our kitchen.
But here’s a little secret – you don’t need a box mix to make this classic treat. With just a few simple ingredients and about 30 minutes, you can whip up a batch of homemade chocolate cornstarch pudding that’ll knock your socks off.
What Makes This Pudding Special
Let me tell you, this isn’t your average pudding. It’s silky smooth, intensely chocolatey, and has just the right amount of sweetness.
The best part? You probably have all the ingredients in your pantry right now. No fancy chocolate or hard-to-find items needed – just good old cocoa powder, sugar, cornstarch, and milk.
Gathering Your Ingredients
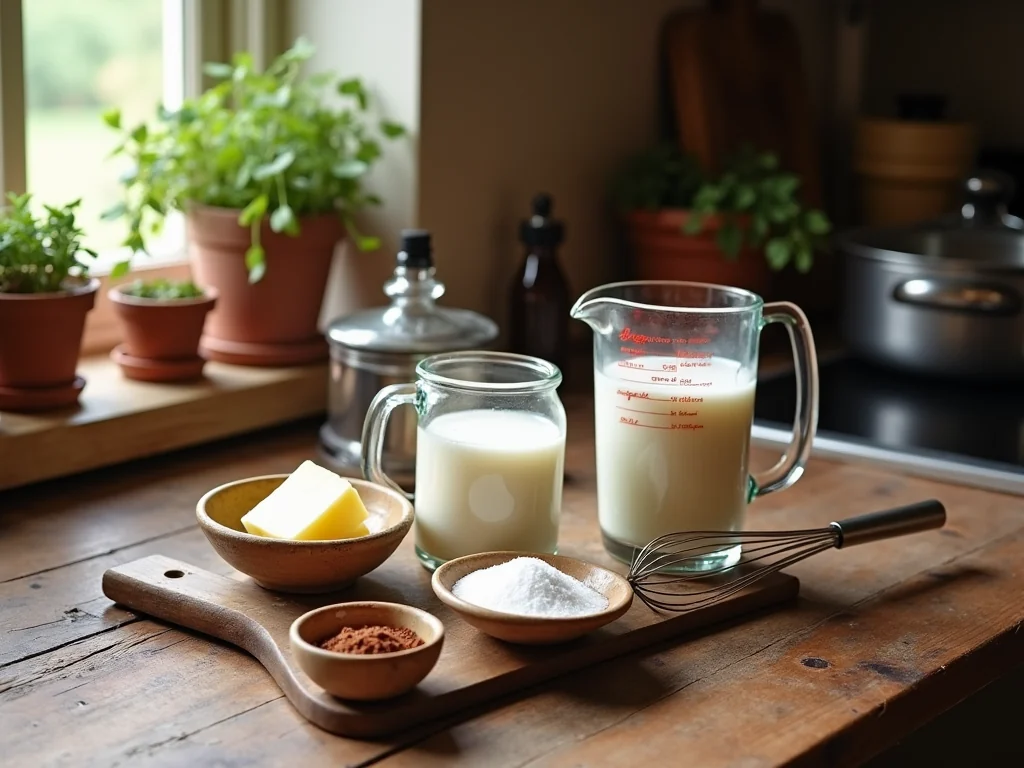
Before we dive in, let’s round up what we need:
- 1/2 cup sugar
- 3 tablespoons unsweetened cocoa powder
- 1/4 cup cornstarch
- 1/8 teaspoon salt
- 2 cups milk
- 2 tablespoons butter
- 1 teaspoon vanilla extract[1]
Pretty simple, right? Now, don’t worry if you need to make a few tweaks. If you’re watching your sugar intake, you can reduce the amount a bit. And if you’re dairy-free, feel free to swap in your favorite non-dairy milk. The pudding might be a tad thinner, but it’ll still be delicious.
The Magic of Cornstarch
Now, you might be wondering why we use cornstarch instead of eggs like in some other pudding recipes.
Well, cornstarch is our secret weapon for getting that perfect, thick consistency without any fuss. It’s a foolproof thickener that gives us silky smooth results every time.
Cooking Up Some Comfort
Alright, let’s get cooking! Here’s how we bring this pudding to life:
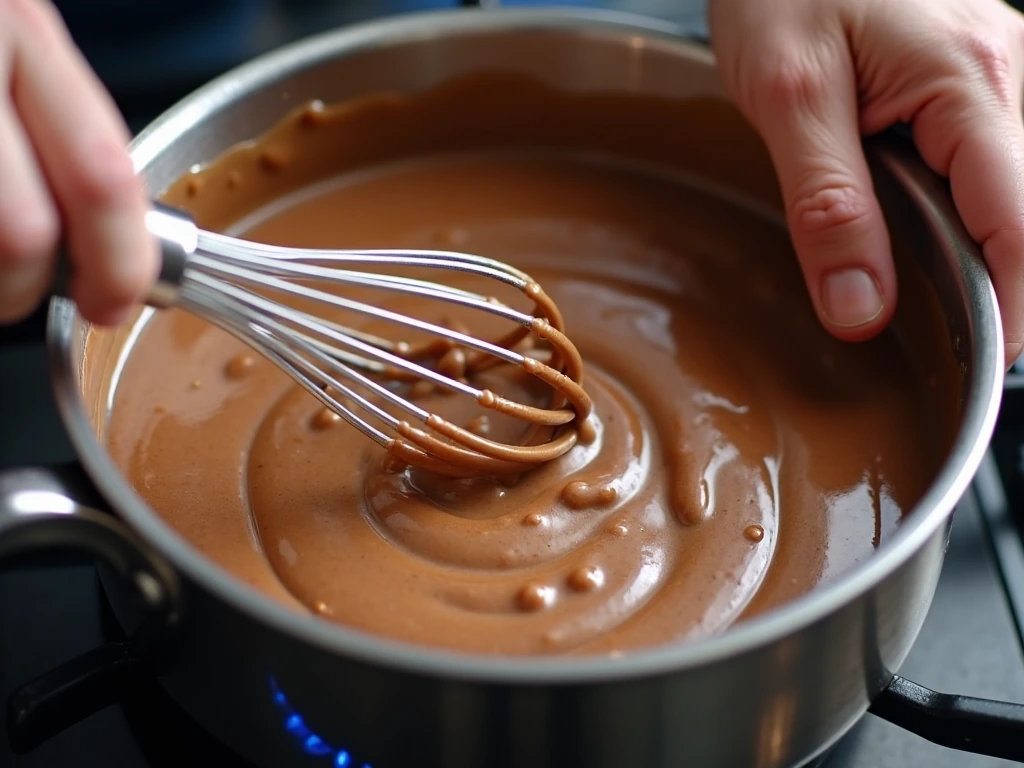
- In a saucepan, whisk together the sugar, cocoa powder, cornstarch, and salt. This dry mix is the foundation of our pudding.
- Slowly pour in the milk, whisking constantly to avoid any lumps. Trust me, nobody wants lumpy pudding!
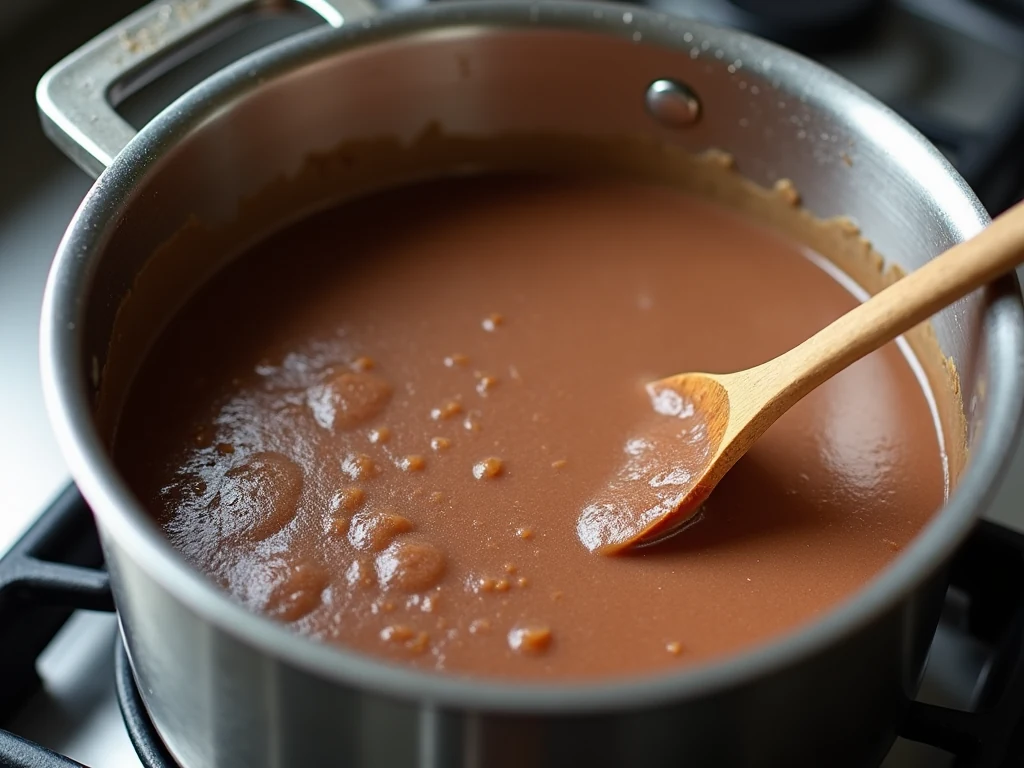
- Place the pan over medium heat and keep stirring. This is where the magic happens – you’ll see the mixture start to thicken as it heats up.
- Once it starts to bubble and gets nice and thick (it should coat the back of a spoon), remove it from the heat.
- Stir in the butter and vanilla. This adds a lovely richness and depth of flavor.
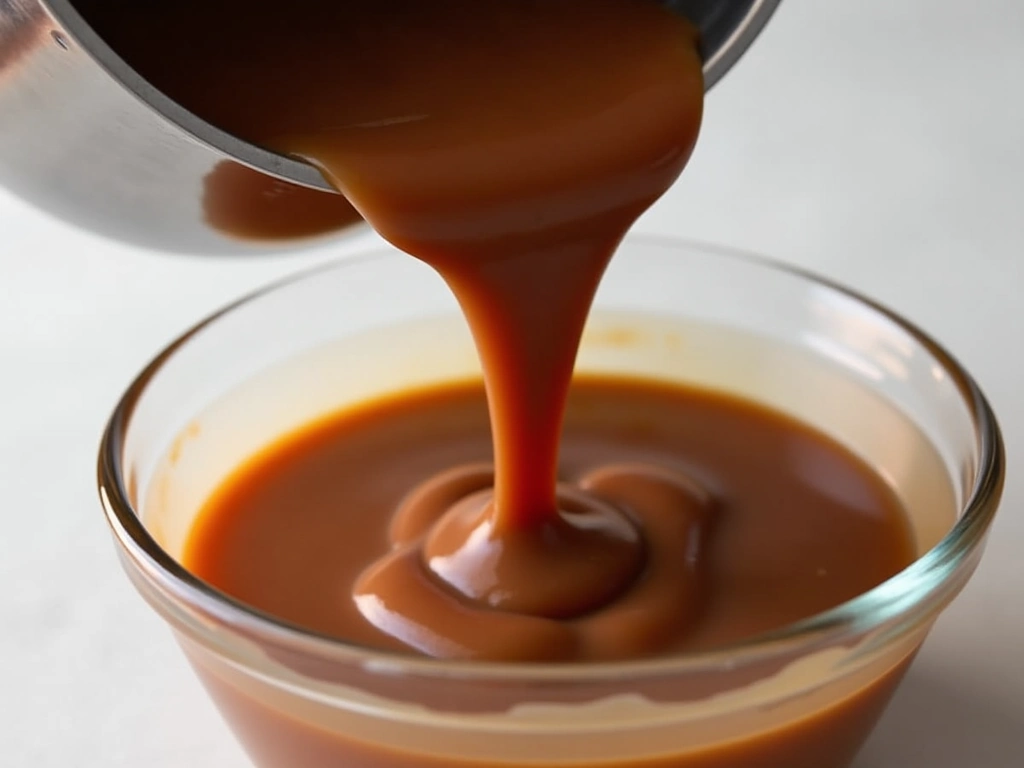
The whole process takes about 20 minutes, and let me tell you, the anticipation is half the fun. As the pudding cooks, your kitchen will fill with the most amazing chocolate aroma. It’s like being wrapped in a warm, cocoa-scented hug.
The Waiting Game
Now comes the hard part – waiting for it to cool. Pour your pudding into a bowl or individual serving dishes, and if you’re like me and can’t stand pudding skin, press some plastic wrap directly onto the surface.
Pop it in the fridge for at least an hour, or if you can resist, overnight. I know it’s tempting to dig in right away, but trust me, it’s worth the wait. The flavors deepen and the texture gets even silkier as it chills.
Serving Suggestions
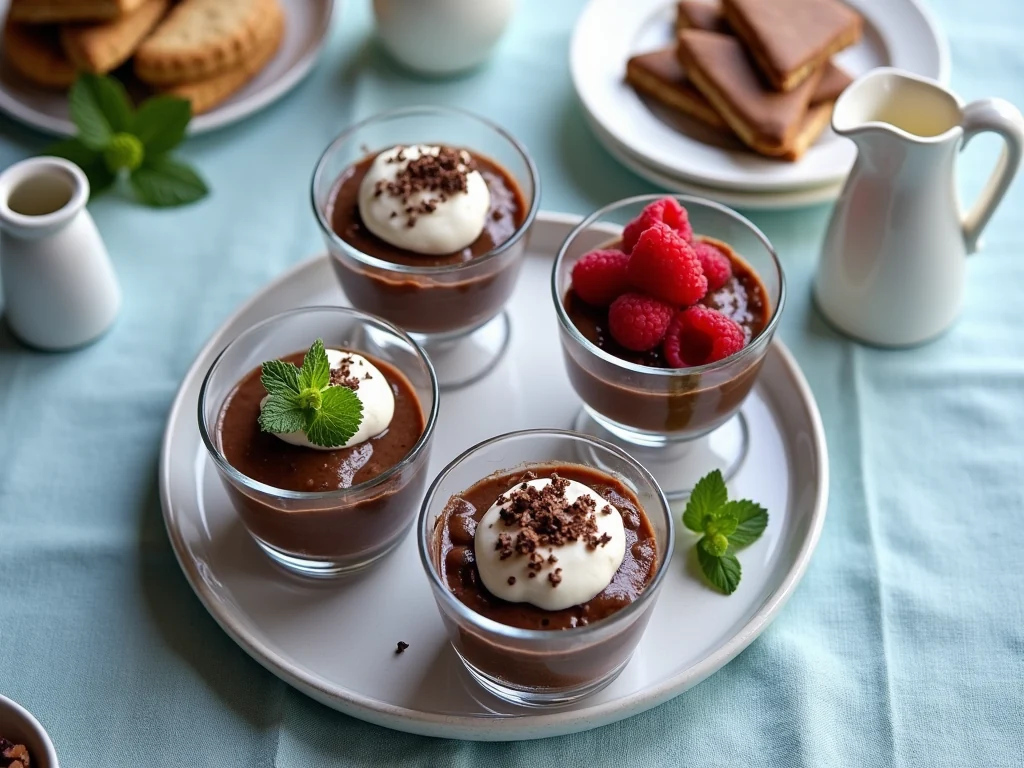
When it’s finally time to indulge, you’ve got options. You can keep it simple and enjoy it as is, or get fancy with some toppings. A dollop of whipped cream, a sprinkle of chocolate shavings, or even some fresh berries can take this pudding to the next level.
And here’s a little tip from my kitchen to yours – if you’re feeling extra indulgent, try layering the pudding with some crumbled cookies or brownie bits for a quick and easy trifle. It’s a showstopper at potlucks, let me tell you!
Why Homemade is Better
Now, you might be thinking, “Why go through all this trouble when I can just buy pudding cups?” Well, let me tell you, the difference is night and day. This homemade version is richer, creamier, and has a depth of flavor you just can’t get from the store-bought stuff.
Plus, there’s something so satisfying about making it yourself. It’s a little bit of kitchen magic that never fails to impress. And once you’ve mastered this basic recipe, you can start experimenting. Add a pinch of cinnamon for a Mexican chocolate vibe, or stir in some peanut butter for a nutty twist. The possibilities are endless!
Storing Your Pudding
If you somehow manage to have leftovers (it’s rare in my house!), your pudding will keep in the fridge for about 3 days. Just make sure to keep it covered to prevent it from absorbing any funky fridge odors.
A Final Note
Making chocolate cornstarch pudding from scratch might seem a bit daunting at first, but I promise it’s easier than you think. And once you’ve tasted the homemade version, you’ll never want to go back to the boxed stuff.
So go on, give it a try. Whip up a batch this weekend and watch as your family’s eyes light up at the first spoonful. It’s more than just dessert – it’s a bowlful of comfort and nostalgia that’s sure to bring smiles all around.
Chocolate Cornstarch Pudding: A Creamy Delight
Indulge in this easy homemade Chocolate Cornstarch Pudding recipe. Silky, rich, and made with pantry staples, it’s a nostalgic dessert perfect for any occasion.
Ingredients
Instructions
- In a saucepan, whisk together sugar, cocoa powder, cornstarch, and salt.
- Gradually add milk, whisking constantly to avoid lumps.
- Cook over medium heat, stirring until the mixture thickens and bubbles (about 20 minutes).
- Remove from heat and stir in butter and vanilla.
- Pour into bowls or serving dishes, pressing plastic wrap onto the surface to avoid skin.
- Chill in the fridge for at least 1 hour before serving.
- Serve as is or top with whipped cream, chocolate shavings, or berries. Enjoy!
Nutrition Facts
Servings 4
Serving Size 1
- Amount Per Serving
- Calories 180kcal
- % Daily Value *
- Total Fat 7g11%
- Protein 4g8%
* Percent Daily Values are based on a 2,000 calorie diet. Your daily value may be higher or lower depending on your calorie needs.
